
• Skip to primary navigation
  • Skip to main content
  • Skip to primary sidebar
  • HOME
  • RECIPES
  • ABOUT
  • PORTFOLIO
  • CONTACT

Lion's Bread logo

menu icon
go to homepage
search icon
Homepage link
  • HOME
  • RECIPES
  • ABOUT
  • PORTFOLIO
  • CONTACT
  • ×

    Simple Custard Cream Tart

    Simple Custard Cream Tart
    Jump to Recipe

    A simple + elegant creamy no-bake custard-like tart in a graham cracker crust. The perfect base for gorgeous Spring berries!

    Hi everyone!

    I really hope you are all well, and taking good care of yourselves and your loved ones. I know that finding ingredients can be challenging right now, which is why I’m so excited to share this super simple custard cream tart with you. I really believe that during all of this, a real sweet treat for dessert is very good for morale. This Simple Custard Cream Tart reminds me of cheesecake’s low-maintenance, effortlessly beautiful cousin. You only need a few staple ingredients to make this fuss-free creamy spring tart, so let’s get to it!

    How do you make a tart from scratch?

    With any homemade tart, you’ll start with a crust of some kind, then add a filling. There are so many options for the crust like shortbread or flakey pastry. My all time favorite has to be a simple press-in crust made from ground graham crackers and melted butter. I bake the tart “shell” separately first for a toasty/nutty flavor, allow it to cool, then pour in the prepared filling.

    How do you set up custard cream?

    Most custards have thickening agents like eggs or cornstarch to help them set-up. This stovetop custard cream is made by boiling heavy cream with Brown Cow Whole Milk Cream Top yogurt and honey for a few minutes. My family and I have been enjoying Brown Cow’s delicious yogurt for years because it’s made with such quality whole milk, made from happy cows on their farms in the Northeast. I love how fuss-free this filling is, while still being so creamy, with just a slight tang from the yogurt. Cooking these ingredients together at a high heat actually causes them to set-up once the tart is refrigerated. I recommend allowing the tart to chill for at least 3 hours before serving.
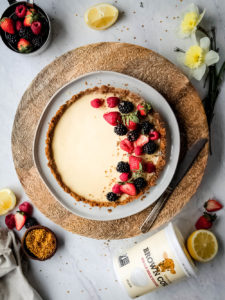
    Simple Custard Cream Tart

    When do you decorate a tart?

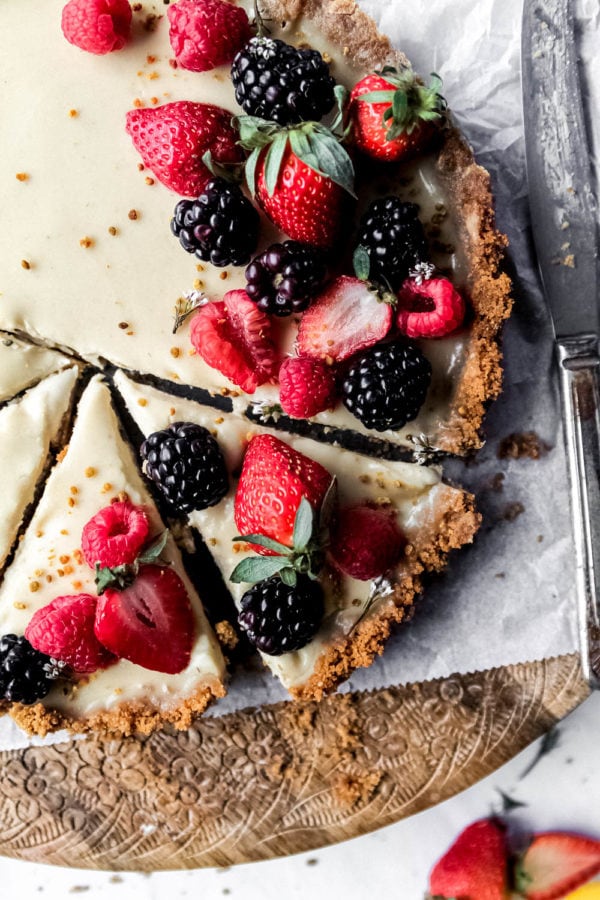
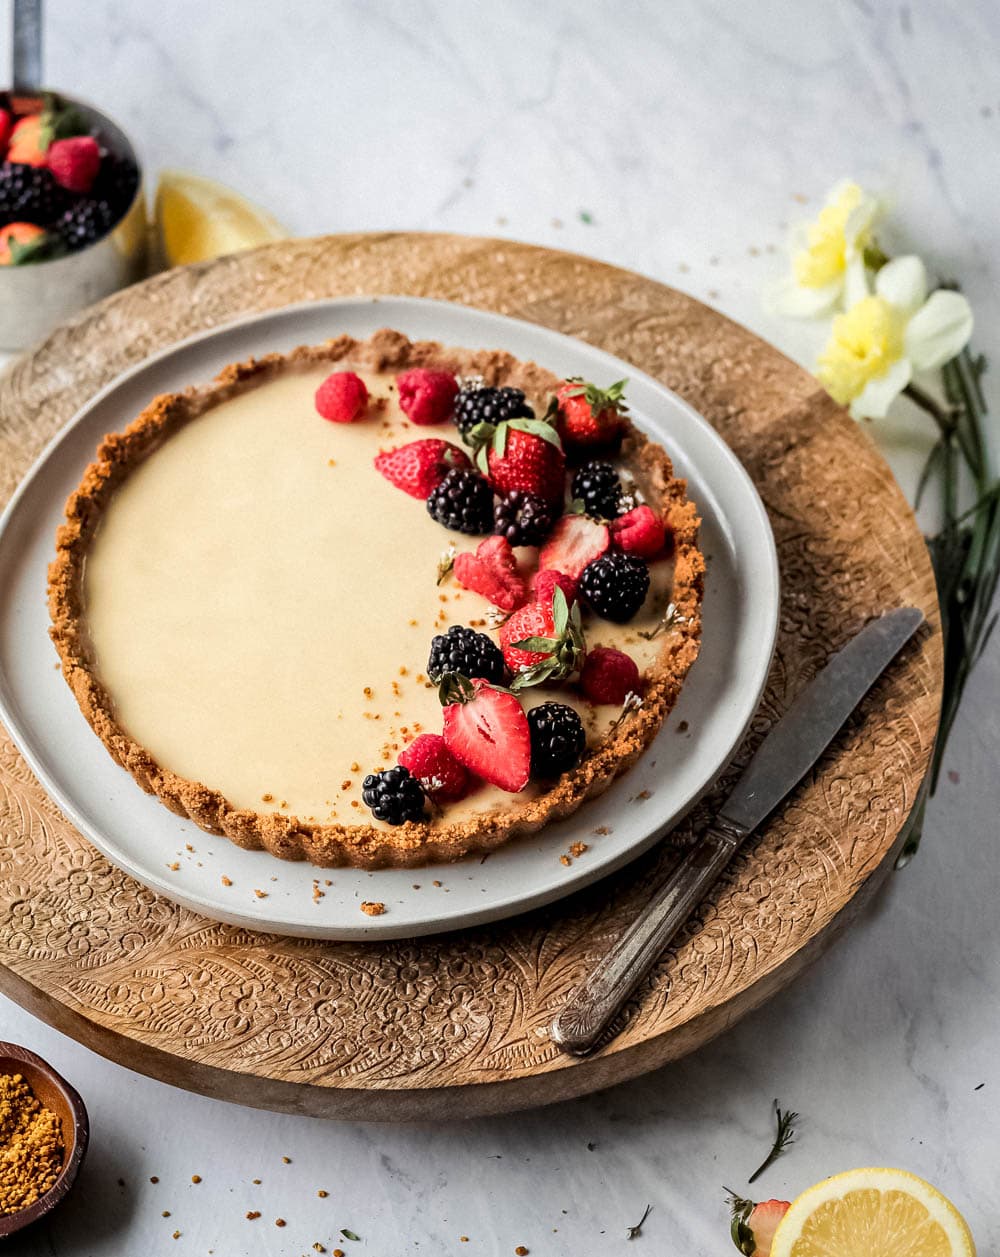
    This is the really fun part! You’ll want to decorate the tart right before serving to ensure that the berries stay really juicy. We’re SO into fresh berries, my girls can, and often do, eat a whole clamshell in one sitting for a snack. I like to use whatever looks really good and fresh at the market Some of my favorites are raspberries, blackberries, mangoes, and strawberries. You could even cook the berries down into a quick compote! This is the time to get creative, and add whatever fruit your heart desires. You can even add some edible fresh flowers or bee pollen to create a really special simple moment.

    This Simple Custard Cream Tart can we stored in the refrigerator fro up to 2 days.

    As always, please remember to tag me in any of your posts @lions.bread so I can see what you’re making from the blog! Nothing makes me happier than seeing my recipes come to life in your kitchens!

    Love this recipe? Be sure to check out Summer Fruit Tart and my Bittersweet Chocolate Honey Tart
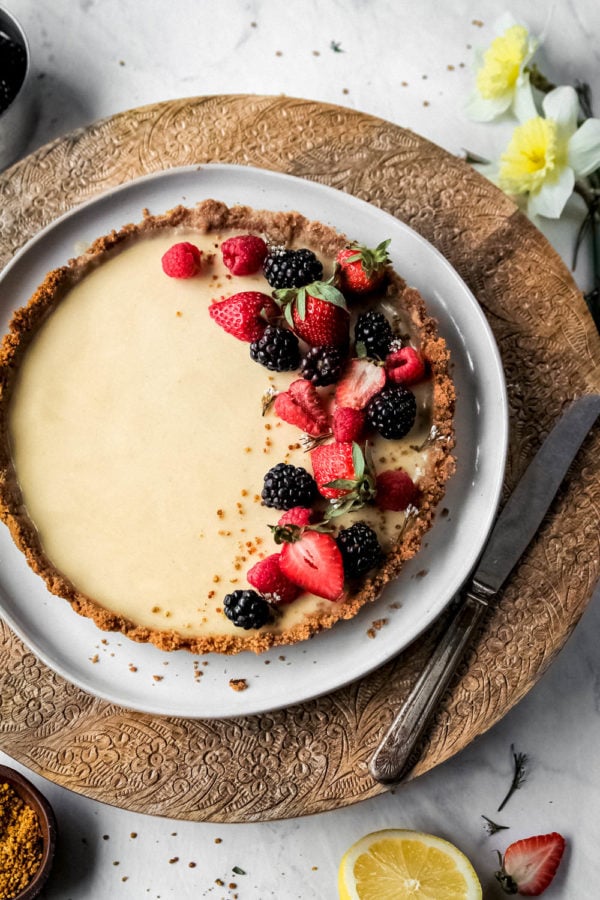
    Simple Custard Cream Tart

    Simple Custard Cream Tart

    Simple Custard Cream Tart
    Print

    Simple Custard Cream Tart

    The perfect base for gorgeous Spring berries! A simple + elegant creamy no-bake custard-like tart in a graham cracker crust.

    Course Dessert
    Keyword cream, custard, easy tart, raspberries, whole milk, yogurt
    Prep Time 15 minutes
    Cook Time 15 minutes
    Chill time 3 hours
    Servings 8
    Author LeAnne

    Ingredients

    Filling

    • 1 ½ cups heavy cream
    • ⅔ cup Brown Cow Whole Milk Cream Top Yogurt
    • ¼ cup honey
    • 1 tsp grated lemon zest
    • pinch of kosher salt
    • 1 tsp pure vanilla extract

    Crust

    • 8 honey graham crackers
    • 5 tbsp unsalted butter melted
    • 1/4 tsp kosher salt
    • 1-2 cups strawberries, raspberries, blackberries

    Instructions

    1. Preheat the oven to 375 degrees F. Spray a 9-inch removeable bottom tart with nonstick cooking spray. Set Aside.

    2. To the bowl of a food processor, add the graham crackers and salt. Pulse until the crackers are totally crushed. Add the melted butter to the bowl, and pulse until completely combined, and the mixture looks crumbly. Pour the crumbs into the prepared tart baked, and use your fingertips to press the crumbs down in an even bottom layer, pressing the up the sides of tart pan about 1/2-inch.

    3. Place the crust on a baking sheet, and bake for 12-15 minutes, until it smells toasty and golden brown. Remove from the oven, and set aside to cool.

    4. Make the filling: Pour the cream, whole milk cream top yogurt, and honey into a medium to large saucepan over medium heat. Cream bubbles up A LOT, so it's very important to use a bigger pan. Bring the mixture to a boil, and then boil for another 4-5 minutes, stir frequently. Take the hot cream off of the heat, and added the fresh lemon zest, pinch of salt, and vanilla extract. It should still be very liquid-y, that's ok! It will set up.

    5. Place the cooled crust onto a large dinner plate. Pour the filling into the crust, and refrigerate for at least 3 hours to allow the filling to set up. Just before serving, decorate the top of the tart with fresh berries and edible flowers.

    This post is sponsored by my friends at Brown Cow Yogurt, all opinions and text are 100% my own. Thank you for continuing to support the brands who help make Lion’s Bread possible!

    « Pink Lemonade Thumbprint Cookies
    Brown Butter Strawberry Oat Crumb Bars »

    Primary Sidebar

    LeAnne

    I'm LeAnne, artisan baker, writer, weenie lover, and sourdough enthusiast with a lifelong passion of teaching you all how to bake. Lion's Bread is full of everyday deliciousness that's meant to be shared - let's bake some memories together!

    More about me →

    Featured In

    FeedFeed

    Let's Connect!

    • Facebook
    • Instagram
    • Pinterest
    • YouTube

    Freshly Baked

    • Bake like a 90’s Mom: C is for Chocolate Chip Cookies
    • Bake like a 90’s Mom: B is for Banana Bread
    • Beginner Sourdough Bread – Start Here!
    • Bake like a 90’s Mom: A is for Apple Crisp

    Find a REcipe

    • Bread + Pastry
    • Breakfast
      • Muffins
    • Brownies + Bars
    • Cakes
    • Confections
    • Cookies
    • Doughnuts
    • Drinks
    • Ice Cream
    • Pies + Tarts
    • Puddings + Mousse
    • Resources
    • Savory

    Looking for something?

    AS FEATURED IN

    FeedFeed

    Subscribe

    FRESHLY BAKED

    • Bake like a 90’s Mom: C is for Chocolate Chip Cookies
    • Bake like a 90’s Mom: B is for Banana Bread
    • Beginner Sourdough Bread – Start Here!
    • Bake like a 90’s Mom: A is for Apple Crisp
    • Iconic Roast Chicken with Schmaltzy Sourdough Croutons and Caramelized Onions

    Footer

    lions.bread

    good bread for everyone
    • mom of 4 🪬 • Arabian horse girl 🐎
    • Pocono Mountains, PA 🌳
    collabs + inquiries ↓


    in its own category 😌✨❤️‍🔥 comment RECIPE to get
    in its own category 😌✨❤️‍🔥  comment RECIPE to get my beginner sourdough bread recipe 🤎  https://www.lionsbread.com/beginner-sourdough-bread-start-here/  #bakinglove #bakingfromscratch #breadmaking


    always always always have a jar of this in my pant
    always always always have a jar of this in my pantry ❤️ you should too! Recipe below, but PLEASE feel free to riff on this and make it your own 👇✨ 
#bakinglove #bakingfromscratch #granola #easyrecipe  MAPLE TAHINI GRANOLA  3 cups old fashioned oats
1 cup sliced almonds 
1/2 cup chopped walnuts
1/2 cup pecans
1/2 cup sesame seeds
1/4 cup chia seeds
1/2 cup sunflower seeds
1/2 cup maple syrup
1/2 cup coconut oil, melted
1/3 cup raw tahini
2 teaspoons ground cinnamon
1.5 teaspoons kosher salt
Preheat the oven to 350°F. Mix all of the above ingredients in a large bowl.
Line a rimmed baking sheet with parchment paper. Pour the granola onto the prepared baking sheet. 
Bake for 50-60 minutes, stirring the granola halfway through.
Let the granola cool completely and pack it up into jars. Store at room temperature for up to 1 week or in the fridge for up to 1 month.


    🌿💚🥬 I got little gems, micro greens, & oakleaf - 1
    🌿💚🥬 I got little gems, micro greens, & oakleaf - 100% organic & grown with love and hip hop 🎵  #homestead #gardening #organic


    the nervous system reset we all need 🥹 #Equestri
    the nervous system reset we all need 🥹  #Equestrian #horsegirl #arabianhorse #countryliving


    if you’ve followed the journey, you know how happy
    if you’ve followed the journey, you know how happy this makes me 🤣 make a batch of homemade pickles and your life will be forever changed ✨❤️‍🔥🥒 I’m on a roll now, tell me below what’s your favorite thing to pickle?  #homestead #countryliving #bakingfromscratch #homegrown #pickles


    and if you tell me that baking requires math, you
    and if you tell me that baking requires math, you better believe I in fact do have a calculator with me at all times contrary to what my math teacher said 😜  #bakingfromscratch #bakinglove #artisanbread #breadmaking


    highlight of my summer: making organic dye-free fo
    highlight of my summer: making organic dye-free food for my favorite tiny friends ✨ 
Organic Hummingbird Syrup:
1 cup filtered water
1/4 cup organic sugar
Place both the water and sugar into a small pot, and heat gently over medium low heat just until the sugar dissolves. Do not boil the mixture.
Allow the syrup to cool completely then pour into your favorite feeder.
Sit back, relax, and wait for these tiny angels to come back again and again 🥹✨  #homestead #hummingbird #organic #countryside


    for the sparkly crystal & gem girlies 😜✨🌈 if this
    for the sparkly crystal & gem girlies 😜✨🌈 if this found you, you’re in the right place ❤️‍🔥  #diamonds #stones #crystals #woo


    Follow on Instagram


    ↑ back to top

    About

    • Portfolio

    Newsletter

    • Sign Up! for emails and updates

    Contact

    • Recipe Index

    Copyright © 2026 Lion's Bread, All Rights Reserved. Disclaimer