

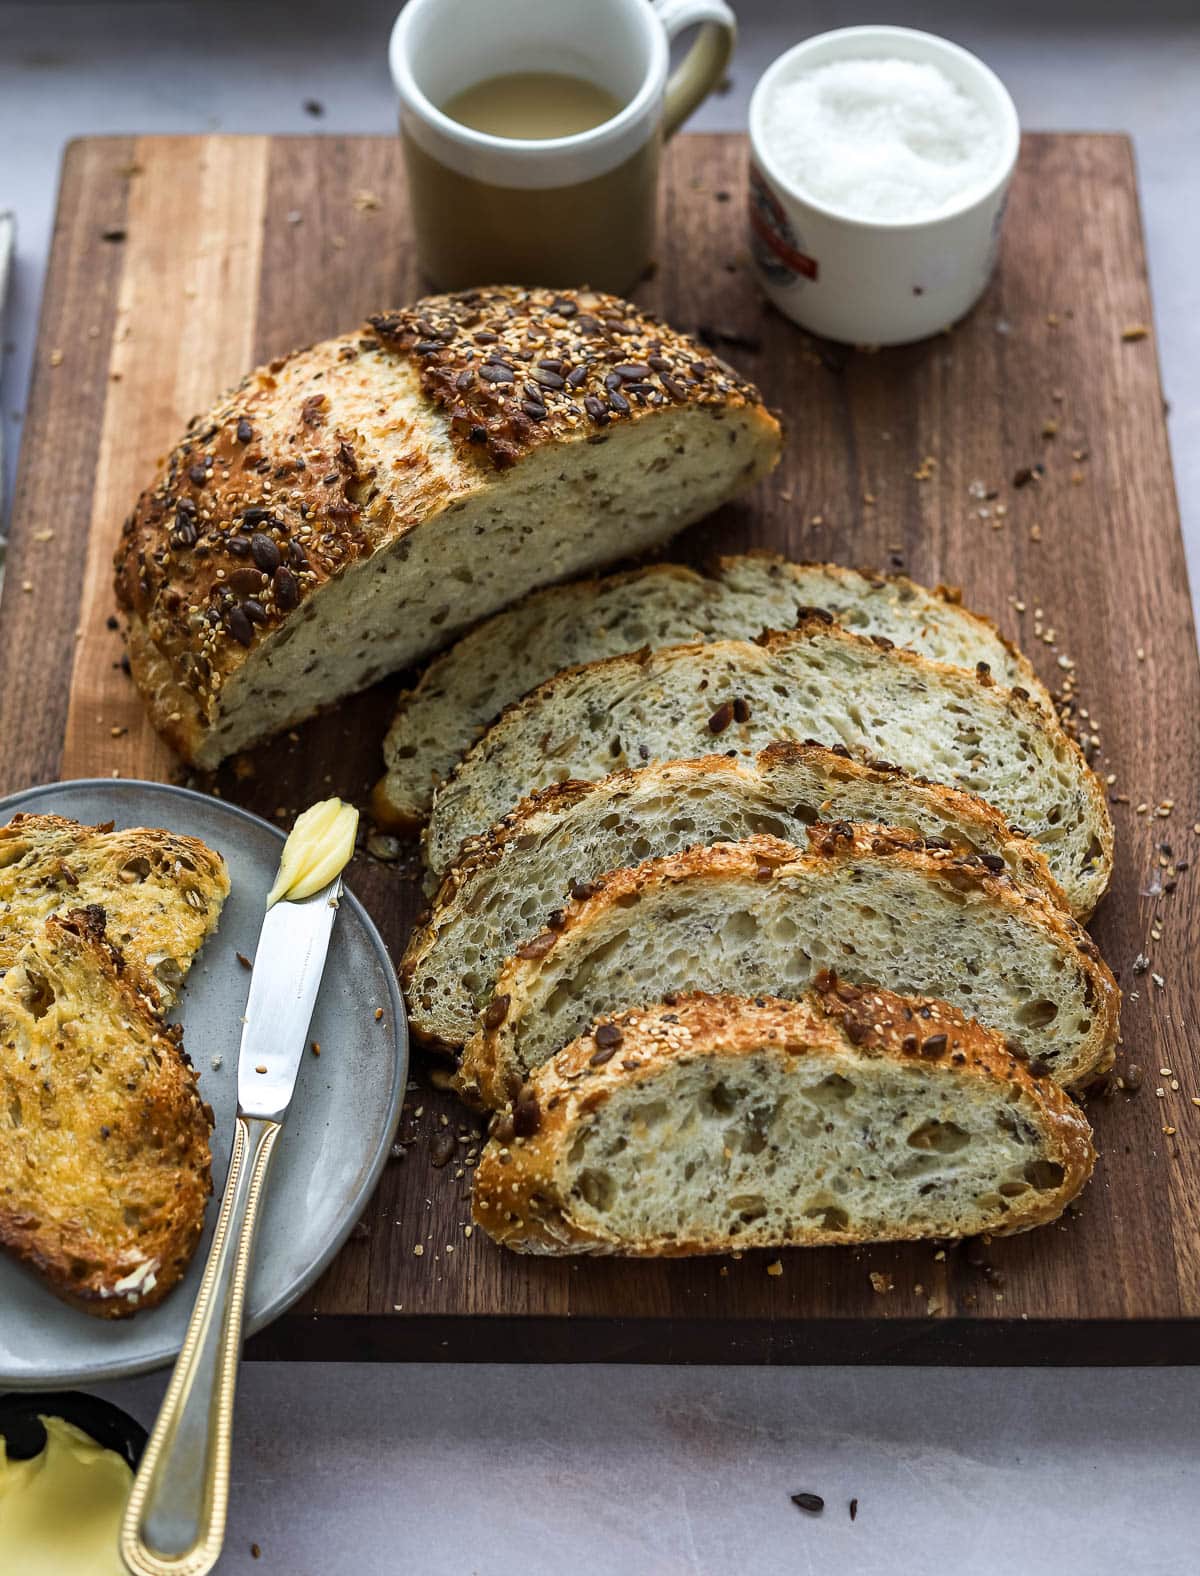
an incredibly delicious fuss-free loaf of rustic seedy bread – No Knead Seed Bread is a daily staple that’s perfect for sandwiches, tartness, + toast
Ingredients
seeds – !!! I use a mix of sunflower, pumpkin, poppy, chia, sesame, and flax. If you don’t have a big variety like that, use whatever mix of seeds that you have or prefer. You just want to make sure that the total amount of seeds equals 100g. When I’m mixing up the seeds, I like to mix up a bit extra to coat the outside crust of the loaf with seeds as well.
all purpose flour – I use unbleached all purpose flour from King Arthur Baking Company. It has a higher protein content than most AP flours. You could use bread flour if that’s what you have.
kosher salt – I use Morton’s kosher salt in all of my bread recipes. If you are using Diamond Crystal, add another 4 grams of salt.
dry active yeast – I use dry active yeast in this recipe, and my favorite brand is Red Star Yeast for its consistent and professional results. I mix the dry active yeast with the warm water to activate it, or “wake it up.” Also, I always store my yeast in the fridge to prolong its shelf life.
water – I use water that’s about 85 degrees F, slightly warmer than room temperature. It’s important that the water is not too hot, otherwise it will kill the yeast, and your bread won’t rise properly. A lot of the tap water in the US is treated with chemicals like fluoride and chlorine, which can negatively affect the rise of our dough. To avoid this, I prefer to use filtered spring water for all of my bread baking.
I know it may seem hard to believe, but making really homemade bread is a lot easier than you might think. We’re only using a few ingredients, and the amount of actual hands on work is very minimal. Most of the time, you’re just waiting around for the dough to bulk ferment/proof/rise (all the same thing!).
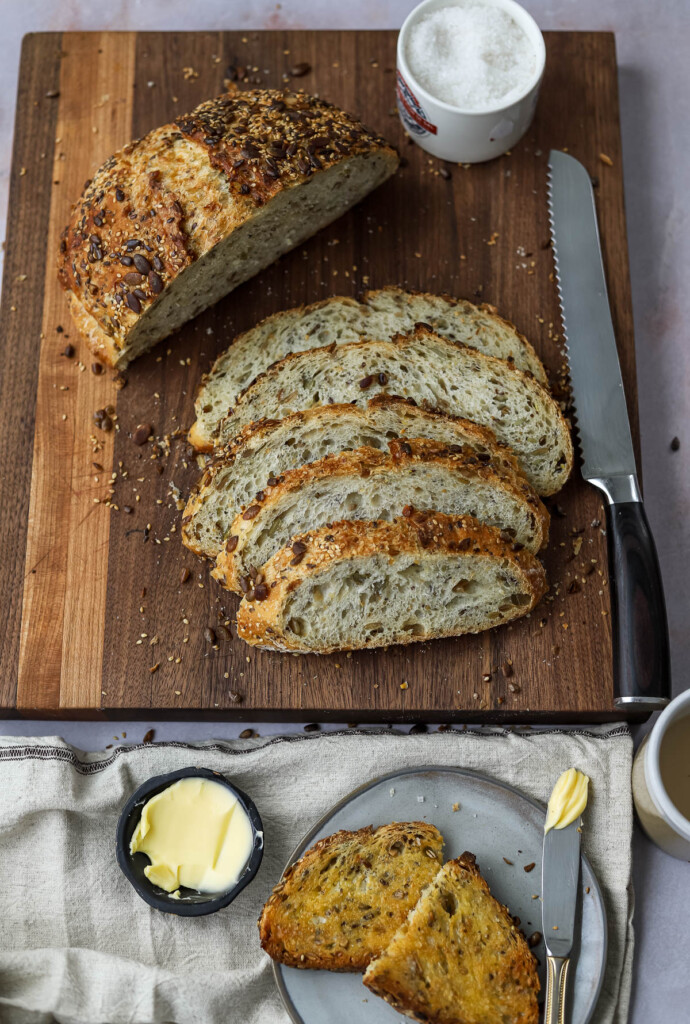
BAKING SCHEDULE:
The evening before you plan to bake
7:00 pm – mix up the No Knead dough
The next day
10:00am – shape the dough into a loaf and coat the crust in the seed mixture, let proof in a proofing basket for 1 – 1.5 hours.
12:00 pm – bake for 50-55 minutes until deeply golden brown. Let cool for at least 1 hour before slicing.
How to make No Knead Bread
This No Knead method is perfect for beginners. Essentially, you’re just mixing up the dough the night before (or in the morning), then letting time do all of the work for you. The long proofing time eliminates the need for multiple stretches and folds, or kneading.
Here are the SIMPLE STEPS to Make Homemade Bread:
In a large mixing bowl, combine the flour, 100 g of the seed mixture (save the rest to coat the crust), kosher salt, dry active yeast. Whisk to thoroughly combine.
Add the water to the bowl, and use a Danish dough whisk or wooden spoon to stir until there are no dry patches of flour. With a damp hand, pinch the dough until the dough comes together. Scrape down the sides of the bowl.
Cover the bowl with plastic wrap, or use a clean shower cap to cover the bowl. Place the dough on the counter at room temperature and let it proof for 12-18 hours. This is a big window of time because the temperature of the room determines how fast the dough will rise. In a colder room, it will rise slower. In a warmer room, it will rise faster. Keep an eye on it!
Pour the remaining seeds into a shallow bowl or onto a baking sheet. Scoop the dough out onto a lightly floured work surface. It shouldn’t be too sticky, but if it is, flour your hands as well. Shape the dough into a boule by bringing all 4 corners into the center. Let the dough rest for 5 minutes. Then bring all 4 corners in again to form a night tight ball.
Spray the outside of the dough lightly with water, then dip the bread into the seed mixture on all sides. Place the shaped bread into the proofing basket, and cover with a clean kitchen towel. let the bread proof once more at room temperature for about 1.5 hours.
Meanwhile, place a Dutch oven on the middle rack of the oven. Preheat the oven at 450°F. After the bread has proofed, invert it onto a small piece of parchment. Use a lame or a sharp knife to slash the top of the bread. This will let the steam out in a controlled way so your bread doesn’t explode.
Carefully place the bread, with the parchment paper, into the preheated Dutch oven. Wear thick oven mitts, and place the lid on top. Bake for 25 minutes with the lid on, then remove the lid, and bake for another 25 minutes until the crust is deeply golden brown, and the seeds smell toasted.
Allow the bread to cool completely on a wire rack for at least 1 hour. Slice and enjoy!
You won’t need a mixer or any fancy equipment to make this delicious No Knead Seed bread at home. Here’s a list of tools that I use over and over again when making bread, and are a great investment:
TOOLS I USE:
- Large mixing bowl – one the most FAQ, this is my favorite bowl for mixing dough!
- kitchen scale – this is an absolutely necessary tool for baking bread. If you want consistent, professional results, weighing your ingredients with a scale is a must.
- Danish dough whisk – this is a quirky looking tool that is actually very useful for mixing up bread dough. If you make bread often, I highly recommend getting one!
- proofing basket – I like an 8-inch or a 9-inch round proofing basket. You could also use an oblong banneton, whatever shape you love!
- small spray bottle – This basic little tool comes in handy for adding just a little extra shot of extra steam to the oven. Sometimes I spray the tops of the rolls before I place them in the oven to get a blistered crackly top.
- bread lame for slashing dough – there are many styles of bread lames, and ultimately choose the one that is most comfortable in your hand. I love this round style, and I’ve tried almost every style out there.
I can’t wait to see all of your takes on then Knead Seed Bread. Remember to tag me in your pictures so that I can see what you’re baking from the blog, @lions.bread
Want to save this recipe for later? Just tap the “P” on any of the images to save it to your favorite Pinterest Boards.
-LeAnne
Did you make this recipe? What did you think? Rate and comment below to let me know
Hena says
Hi I’m absolutely itching to get started with this one. Thankyou so much for sharing. Your loaf looks absolutely brilliant. The only thing that I’m sceptical about is the proofing time. I’m from india and we are in summer now. Temperatures are already rising beyond 30 degrees Celsius. Please advise
LeAnne says
Hi Hena,
Warmer temperatures make the yeast proof faster. I would Cut the proofing time in half, and always remember to keep an eye on the dough, not the clock! If it nearly doubles in size and looks puffy, it’s ready!
Claudia Womack says
Your recipes continue to inspire me. This latest one was such fun and came out looking like this :).
/Users/claudiawomack/Desktop/IMG_8498.jpeg
/Users/claudiawomack/Desktop/IMG_8497.jpeg
Thank you for sharing your joy with all of us
Barbara says
I enjoy making bread. The whole process is relaxing. Your bread looks delicious and I also use kangasa nothing else Plus the Bennington proofing bowls. I have tried several lame’s and no luck. You mentioned around one I would love to know where you ordered it from. You’re extremely talented and all enjoy looking at all your recipes and trying to make them. Thank you…
LeAnne says
Hi Barbara,
Thank you so much for the kind words! I ordered my lame from Amazon, and it is linked here:
https://amzn.to/3JZ1hVk
Happy baking!
Barbara says
Your bread looks delicious. I also use King Arthur’s flour. The olive bread looks yummy. Must make it.. hope it looks as beautiful as yours? One other thing, you mentioned a round lame. I’ve purchased several and they are not comfortable in my hand. Some info on yours please. I would love to see some of your other bread’s. Thank you I will be checking my emails.
LeAnne says
This is the lame that I love!
https://amzn.to/3JZ1hVk
Robert says
Haven’t made the bread, yet. But it sounds excellent. I do have a couple questions, though.
1) What is meant by “pinch”, with respect to “With a damp hand, pinch the dough until the dough comes together.”
2) Could you please clarify the folding of the four corners, with respect to “Shape the dough into a boule by bringing all 4 corners into the center. Let the dough rest for 5 minutes. Then bring all 4 corners in again to form a night tight ball.” Is the dough first flattened into a square and then the corners brought together? In terms of shaping, is the dough then rounded using one’s palms? Then, after rest, is the dough flattened again in order to achieve the four corners?
Thanks
LeAnne says
Hi Robert,
Great question! I stretch the corner edges of the dough out away from the dough, and then fold them into the center. The dough isn’t always a rectangular shape, but I do slightly flatten it before folding the corners in. Hope that helps!
-LeAnne
Trina says
Just made your bread today and it is so delicious! The mixture of seeds is perfect, and your method is very easy. Thank you so much!
LeAnne says
I’m so glad you loved it, thanks for letting me know!
Caryn says
Fresh out of the oven!!!! This is the most delicious bread I have had in some time!!!! Thanks for this wonderful recipe!
LeAnne says
You’re so welcome! Thanks for the support and the feedback 🙂