

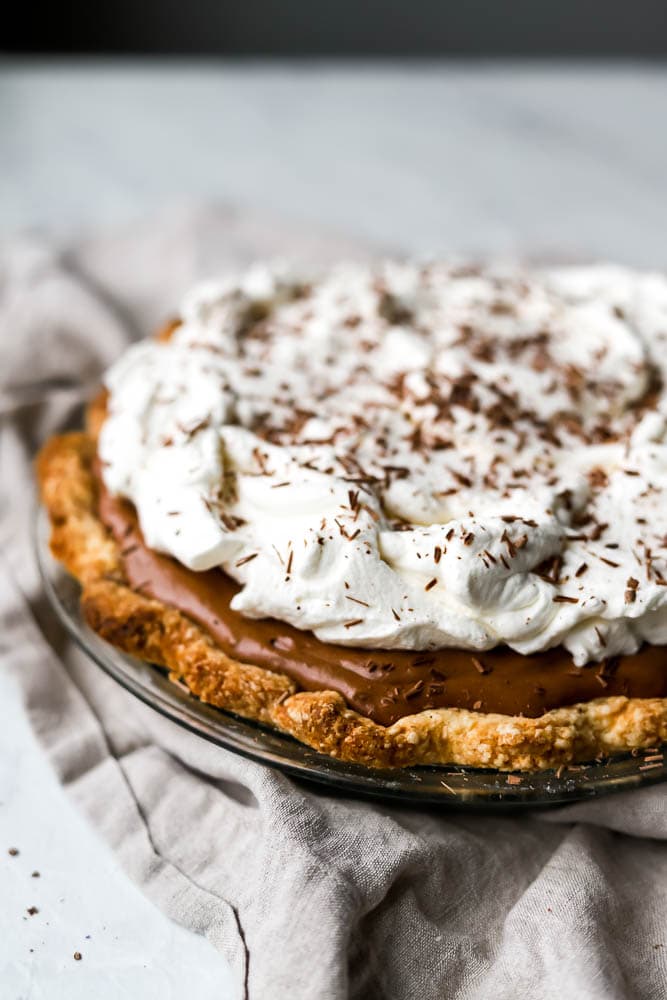
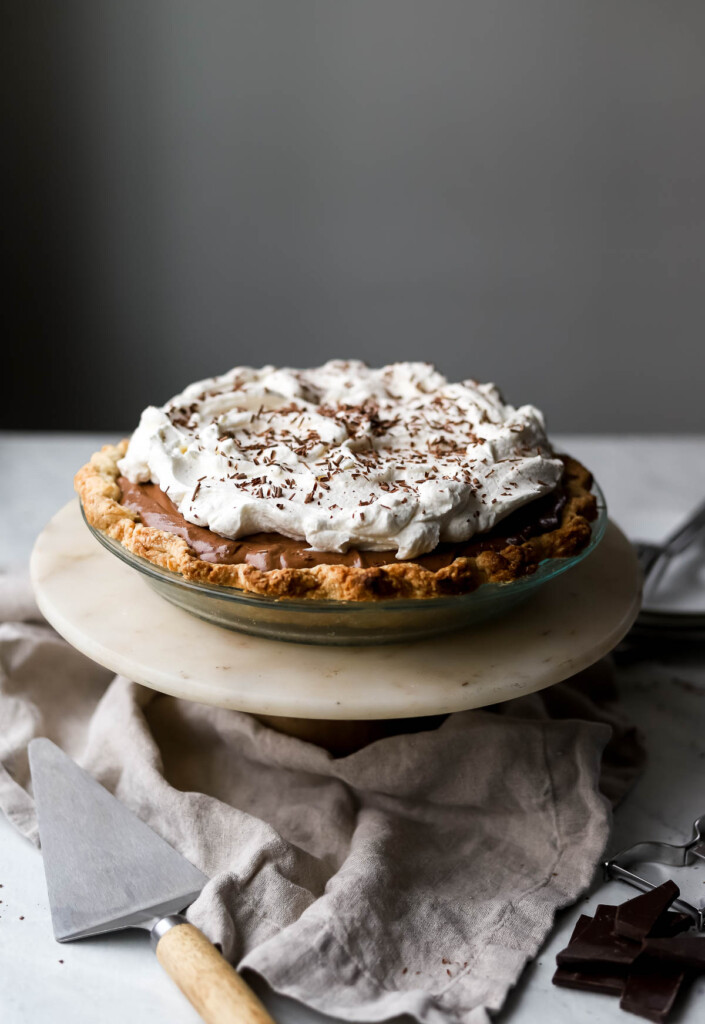
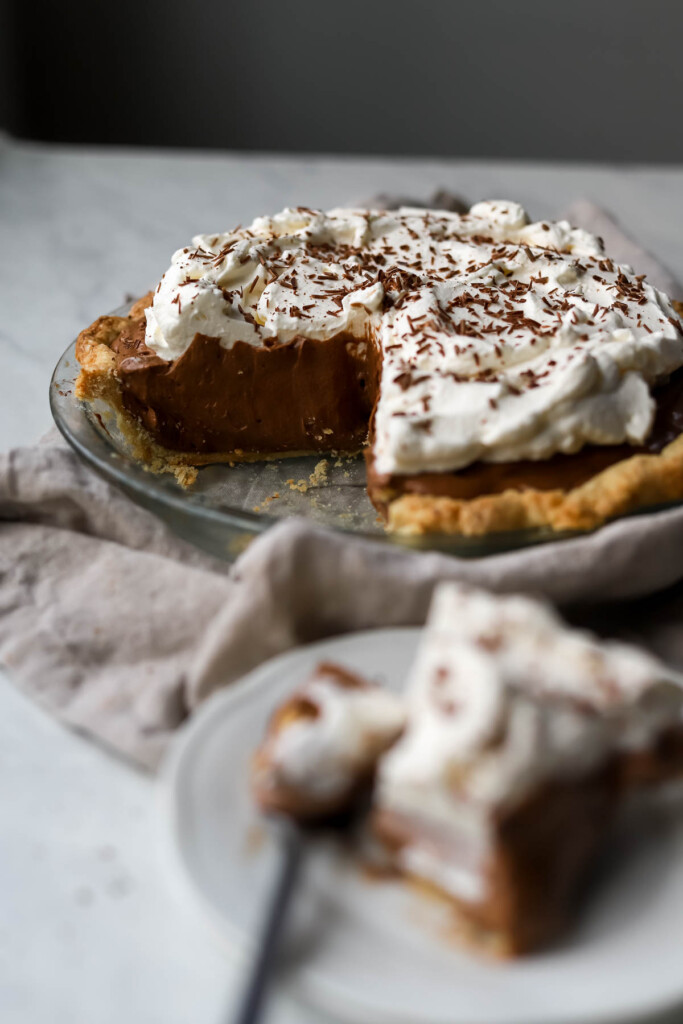
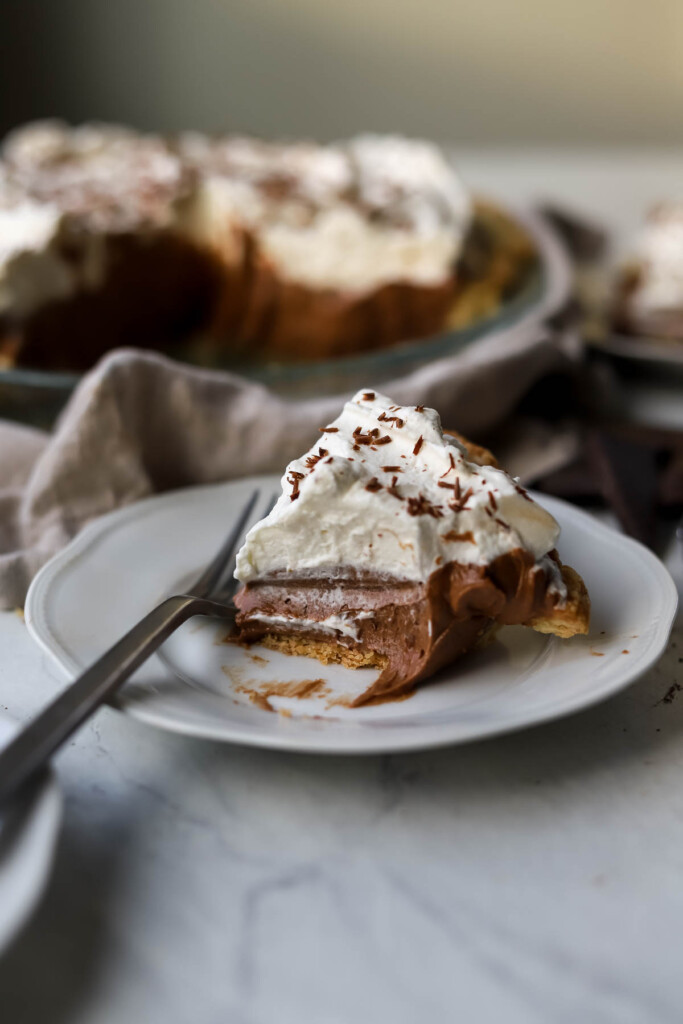
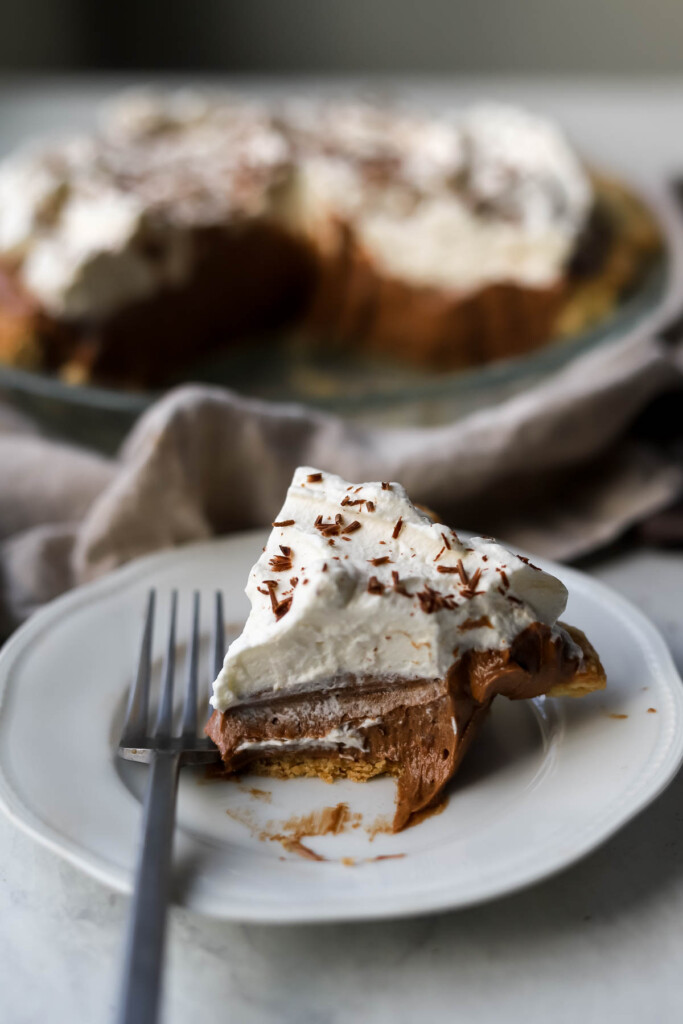
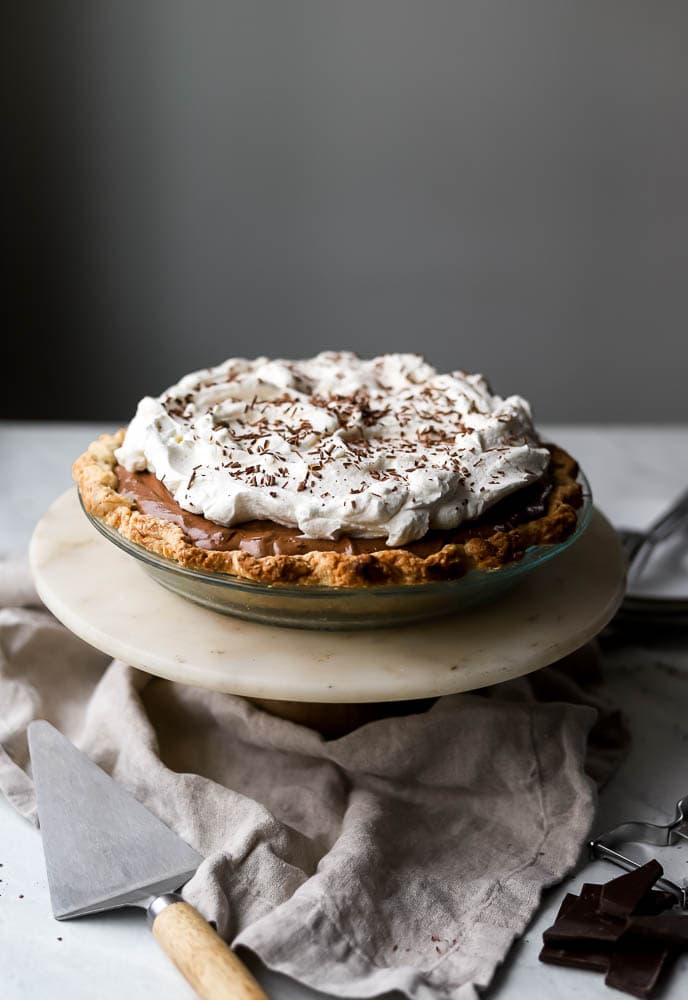
Light as a cloud, this Classic Chocolate Silk Pie is rich, creamy, and decadent – truly loved by all!
*This recipe was developed in partnership with Kerrygold USA. As always, all opinions are my own.
The beauty of a creamy chocolate silk pie is that chocolate is always in season. This incredibly delicious pie is perfect for dinner parties, holidays, birthdays, backyard bbq’s. I’ve made this Chocolate Silk Pie so many times, and it is always such a hit with virtually everyone!
Want more delicious pie recipes? Check out:
The BEST No-Bake Cheesecake Pie
Strawberry, Blueberry, Cherry Lattice Pie
Pumpkin Brown Butter Gingersnap Tart
Ingredients You’ll Need
For the pie crust:
unbleached all purpose flour – I use unbleached all purpose flour from King Arthur Baking Company, for it’s consistent, professional results. It has a higher protein content than most AP flours, but it really works well here. I wouldn’t use a whole grain flour for the pastry crust.
Kerrygold unsalted butter, very cold, 1 cm cubes – using very cold butter is important here because we want the butter to remain cold when it hits the hot oven. The heat from the oven will create steam in the dough, resulting in puffy air pockets which create a flakey pie crust. I prefer to use unsalted butter here so that I can control the overall level of salt in this recipe
granulated sugar – I love using Domino Golden Sugar in all of my sweet bakes. It’s less processed, and works cup-for-cup like regular granulated sugar. It also lends a slight hint of molasses flavor that I find works really well here.
ice water – the trick to making flakey pie crust is to use as little water as possible. Add the water to the ingredients one tablespoon at a time. This recipe calls for 3-4 tablespoons total.
For the filling:
60% dark chocolate, chopped finely – this recipe calls for quite a bit of chocolate, so PLEASE use the good stuff here! Some of my favorite brands are Scharffen Berger and Valrhona. The semi sweet cacao level is perfect here. If you prefer a slightly darker, more bitter chocolate flavor, feel free to use a bar with up to 73% cacao.
eggs – Make sure your Large eggs are at room temperature. Room temperature eggs will incorporate into the batter much better. Forgot to take your eggs out of the fridge? No problem. Just fill a tall glass with hot water, and submerge the eggs in the hot water for about 3-4 minutes, and voila! Use organic free range eggs if you can. There’s a significant difference in flavor, quality, and richness. You can tell a lot by the color of the yolk. A deep orange yolk says a lot! It means that the egg is more nutrient dense, and that the chicken likely had a nutritious, varied diet.
Kerrygold unsalted butter, at room temperature – more butter of course! See notes above.
heavy cream, cold – make sure you’re using unsweetened full fat heavy whipping cream. The cold cream helps keep the viscosity of the filling nice and thick.
For the topping:
heavy cream – make sure you’re using unsweetened full fat heavy whipping cream. It’s usually packaged a carton. Heavy cream whips up MUCH faster/better when it is cold, so be sure to use it straight from the fridge.
powdered sugar – I like to use powdered sugar for this recipe because it dissolves completely in the whipped cream for an ultra smooth creamy layer.
pure vanilla extract – make sure to use pure vanilla extract. The vanilla flavor really comes through, so it’s totally worth it to use the good stuff. Some of my favorite vanilla extracts are from Mexico and Madagascar.
kosher salt – I always use Morton’s brand kosher salt because I love the clean flavor, and level of salinity.
Chocolate shavings for garnish – use a vegetable peeler to shave large or small pieces of chocolate over the top for a gorgeous garnish.
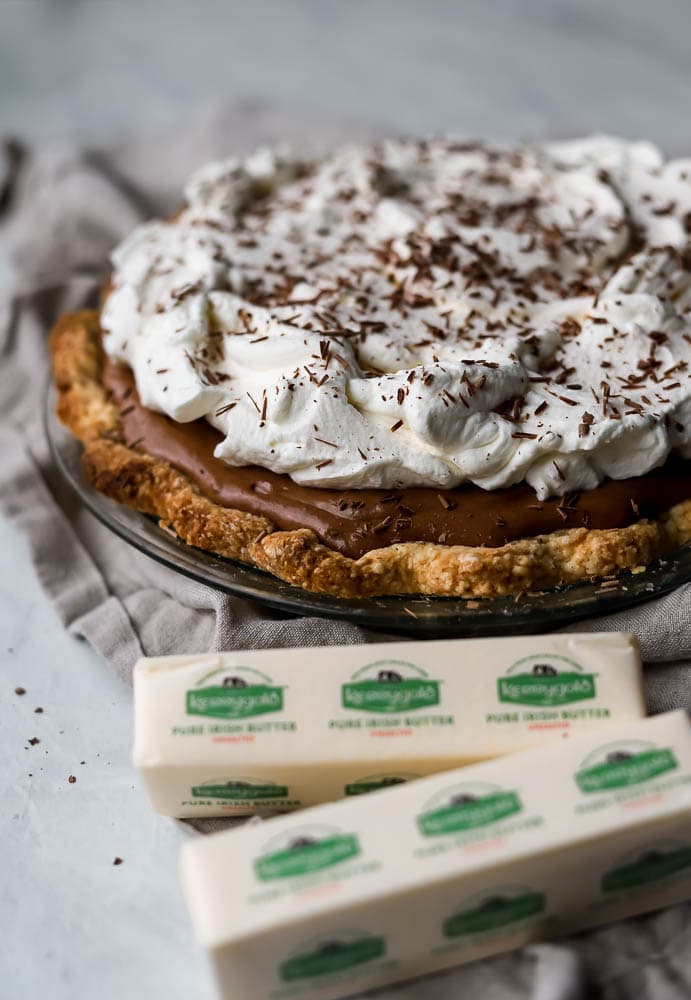
Tools to make Homemade Chocolate Silk Pie:
KitchenAid Stand Mixer – I know this kitchen tool is pricier, but you’ll probably use it for your whole life! For recipe like this, it is an absolute must!
9″ glass Pie Plate – this is a basic kitchen tools that can be used for pies, quiches, brownies, skillet cookies. I prefer the glass pie plates because they retain the heat better than metal.
Rubber Spatulas – I love these heat resistant rubber spatulas. I use them every.single.day in my kitchen, for countless baking and cooking tasks!
Vegetable Peeler – this Swiss brand is unbeatable! I’ve had these peelers for over 10 years and they’re still super sharp and can peel anything from fruit and vegetables, to chocolate!
Mixing Bowls – these stainless steel mixing bowls are a kitchen essential. I like using stainless steel because they’re unbreakable, and heatproof so I can use them for anything and everything!
How to Make Classic Chocolate Silk Pie
- In a large mixing bowl, combine the all purpose flour, small cubes of cold butter, and kosher salt. Use your fingertips to squeeze the cubes of butter into the flour, flattening them out into small sheets of flour-coated butter. Continue squeezing the flour into the butter for 3-4 minutes until the mixture is crumbly.
- Add the ice water, and use a spatula or wooden spoon to combine. The dough will just start to come together, but will still be very crumbly and shaggy. Line the work surface with a piece of plastic wrap, then pour the shaggy dough onto the plastic wrap. Use the plastic wrap to gather the dough together, and press it into a disc shape. Chill in the refrigerator for at least 45 minutes.
- Remove the dough from the fridge, cut the disc in half and stack the two halves on top of each other. This will help create even more flakey layers. Flour your work surface generously, then sprinkle extra flour on top of the dough. Roll the dough out into a 12 to 14 inch circle.
- Spray a pie plate with nonstick cooking spray. Lay the pie dough into the prepared pie dish. Trim the edges, and crimp if desired. Place the shaped pie dough back into the fridge for 15 minutes to firm up. Meanwhile, preheat the oven to 400°F. Remove the dough from the fridge, and place a piece of parchment paper in the center of the dough. Then pour pie weights or raw beans into the pie plate. This will keep the crust from sinking as it bakes, and it’s called “blind-baking.”
- Bake for 30 minutes, then remove the parchment paper and pie weights, lower the oven temperature to 350° and bake for another 15 minutes. Set aside to cool.
- Meanwhile, prepare the filling. In a small saucepan, combine the eggs and granulated sugar. Stir constantly while the mixture cooks over medium low heat. Cook for about 8-10 minutes until the mixture thickens, and coats the back of a spoon, or reaches 160°F.
- Place the finely chopped chocolate, vanilla extract and kosher salt in the saucepan with the hot egg mixture. Let’s it stand for 1-2 minutes, then whisk until the chocolate is melted and thoroughly combined. Set aside to cool slightly.
- Meanwhile, place the 8 tablespoons of unsalted butter in the bowl of a stand mixer fitted with the paddle attachment. Beat on medium speed for 3 minutes until light and creamy. Slowly add the chocolate mixture to the bowl of the mixture, and beat for another 5 minutes until glossy and smooth. Pour the mixture into a separate medium size bowl.
- Place the 1 1/4 cups of heavy cream and the tablespoon of powdered sugar in the clean bowl of the stand mixer fitted with the whisk attachment. Beat on medium speed until the cream thickens and forms stiff peaks.
- Spoon 1/2 cup of the whipped cream into the chocolate mixture. Fold in to lighten up the chocolate. Then, add in the remaining whipped cream and fold in until no white streaks remain. Pour the chocolate cream mixture into the cooled pie crust shell. Smooth out the top into an even layer. Chill for at least 1 and a half hours.
- Meanwhile, make the whipped cream topping. Beat the remaining 1 cup of whipped cream and 2 tablespoons of powdered sugar and teaspoon of vanilla extract in the stand mixer with the whisk attachment. Beat until medium peaks form. Spoon the whipped cream on top of the chilled chocolate layer, and topped with chocolate shavings. Serve chilled.
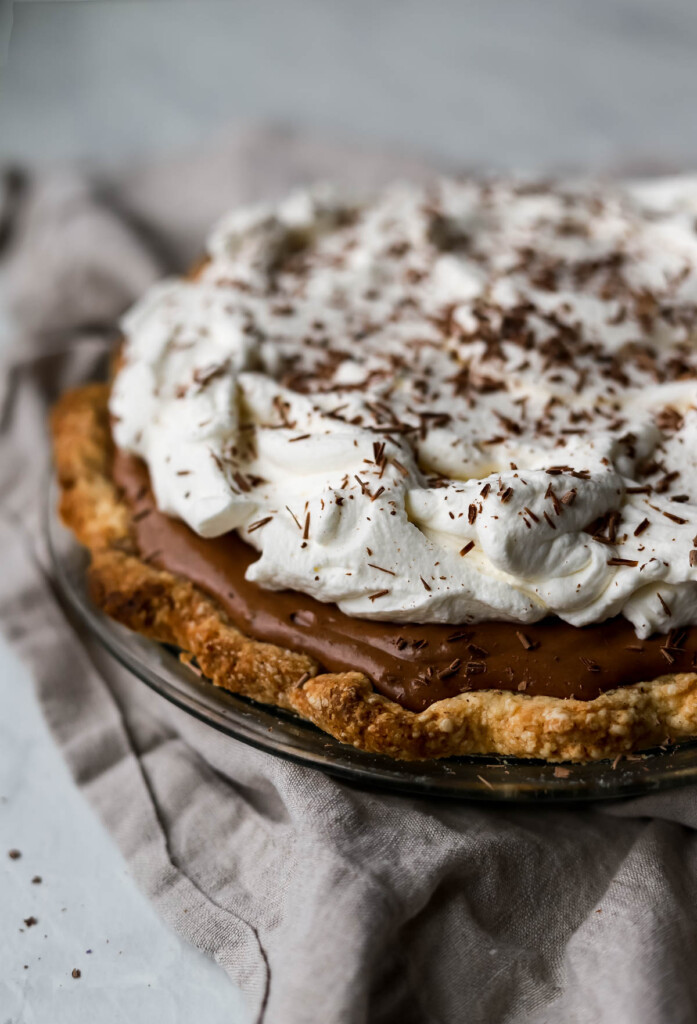
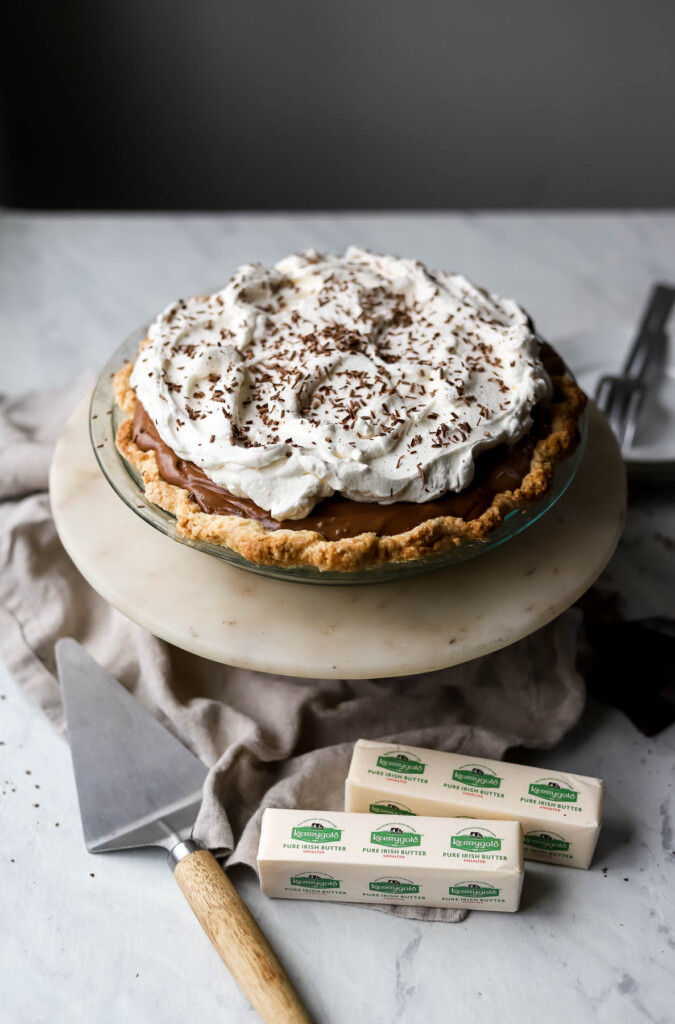
Did you make this Chocolate Silk Pie? Rate and Comment below to let me know what you think!
Tag me @lions.bread or #lionsbread so I can see all of your creations – I love to see my recipes from the blog come to life in your kitchens.
Want to save this Chocolate Silk Pie Recipe for later? Just hit the “Pin it” button on any of the images above to save it to your favorite Pinterest boards.
Chocolate Silk Pie
Light as a cloud, this Classic Chocolate Silk Pie is rich, creamy, and decadent, and truly loved by all!
Ingredients
For the pie crust:
- 1 1/4 cups unbleached all purpose flour
- 8 tablespoons Kerrygold unsalted butter very cold, 1 cm cubes
- 3 tablespoons granulated sugar
- 1/2 teaspoon kosher salt
- 3-4 tablespoons ice water
For the filling:
- 8 ounces 60% dark chocolate chopped finely
- 4 eggs
- 1 cup granulated sugar
- 2 teaspoons pure vanilla extract
- 8 tablespoons Kerrygold unsalted butter at room temperature
- 1 1/4 cups heavy cream cold
- 1 tablespoon powdered sugar
- 1 teaspoon kosher salt
For the topping
- 1 1/4 cup heavy cream
- 2 tablespoons powdered sugar
- 1 teaspoon pure vanilla extract
- Pinch of kosher salt
- Chocolate shavings for garnish
Instructions
- In a large mixing bowl, combine the all purpose flour, small cubes of cold butter, and kosher salt. Use your fingertips to squeeze the cubes of butter into the flour, flattening them out into small sheets of flour-coated butter. Continue squeezing the flour into the butter for 3-4 minutes until the mixture is crumbly.
- Add the ice water, and use a spatula or wooden spoon to combine. The dough will just start to come together, but will still be very crumbly and shaggy. Line the work surface with a piece of plastic wrap, then pour the shaggy dough onto the plastic wrap. Use the plastic wrap to gather the dough together, and press it into a disc shape. Chill in the refrigerator for at least 45 minutes.
- Remove the dough from the fridge, cut the disc in half and stack the two halves on top of each other. This will help create even more flakey layers. Flour your work surface generously, then sprinkle extra flour on top of the dough. Roll the dough out into a 12 to 14 inch circle.
- Spray a pie plate with nonstick cooking spray. Lay the pie dough into the prepared pie dish. Trim the edges, and crimp if desired. Place the shaped pie dough back into the fridge for 15 minutes to firm up. Meanwhile, preheat the oven to 400°F. Remove the dough from the fridge, and place a piece of parchment paper in the center of the dough. Then pour pie weights or raw beans into the pie plate. This will keep the crust from sinking as it bakes, and it’s called “blind-baking.”
- Bake for 30 minutes, then remove the parchment paper and pie weights, lower the oven temperature to 350° and bake for another 15 minutes. Set aside to cool.
- Meanwhile, prepare the filling. In a small saucepan, combine the eggs and granulated sugar. Stir constantly while the mixture cooks over medium low heat. Cook for about 8-10 minutes until the mixture thickens, and coats the back of a spoon, or reaches 160°F.
- Place the finely chopped chocolate, vanilla extract and kosher salt in the saucepan with the hot egg mixture. Let’s it stand for 1-2 minutes, then whisk until the chocolate is melted and thoroughly combined. Set aside to cool slightly.
- Meanwhile, place the 8 tablespoons of unsalted butter in the bowl of a stand mixer fitted with the paddle attachment. Beat on medium speed for 3 minutes until light and creamy. Slowly add the chocolate mixture to the bowl of the mixture, and beat for another 5 minutes until glossy and smooth. Pour the mixture into a separate medium size bowl.
- Place the 1 1/4 cups of heavy cream and the tablespoon of powdered sugar in the clean bowl of the stand mixer fitted with the whisk attachment. Beat on medium speed until the cream thickens and forms stiff peaks.
- Spoon 1/2 cup of the whipped cream into the chocolate mixture. Fold in to lighten up the chocolate. Then, add in the remaining whipped cream and fold in until no white streaks remain. Pour the chocolate cream mixture into the cooled pie crust shell. Smooth out the top into an even layer. Chill for at least 1 and a half hours.
- Meanwhile, make the whipped cream topping. Beat the remaining 1 cup of whipped cream and 2 tablespoons of powdered sugar and teaspoon of vanilla extract in the stand mixer with the whisk attachment. Beat until medium peaks form. Spoon the whipped cream on top of the chilled chocolate layer, and topped with chocolate shavings. Serve chilled.
The post Chocolate Silk Pie first appeared on Lion’s Bread Blog