

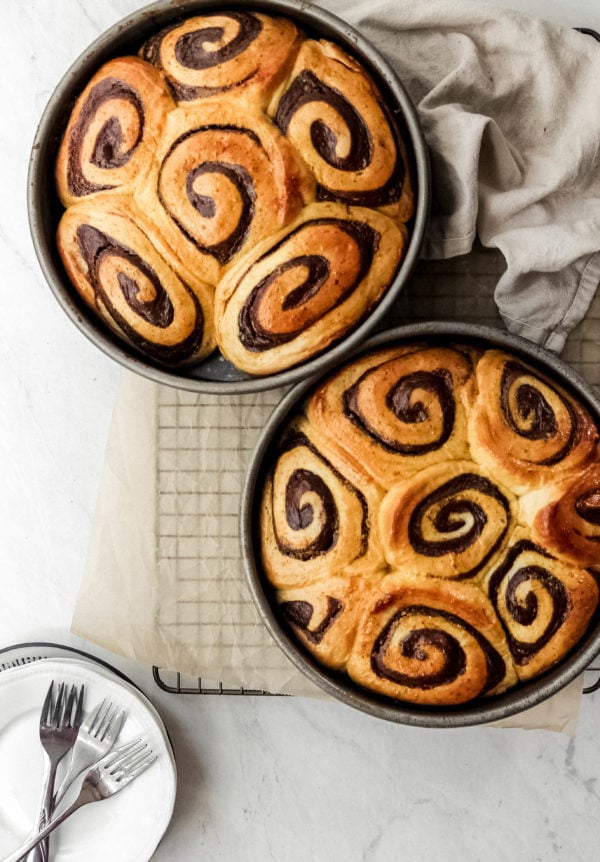
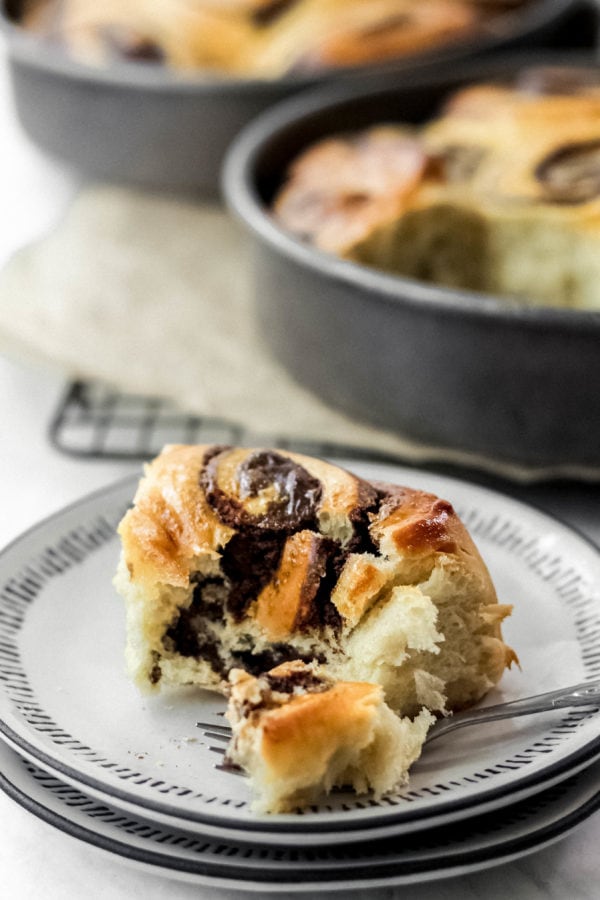
An enriched, soft dough swirled with dark chocolate cheesecake filling. Light and pillow-y, these Chocolate Cheesecake Rolls are just the right amount of sweet
Friends! I’m going to keep it pretty short and sweet today. Quite frankly, it’s 10:30pm and as much as I LOVE my quiet evenings to write and let my creativity flow, Mama is tired. You know what? I’m going to pick this back up tomorrow, so I can give you all a proper read!
One good night’s sleep later…
And we’re back! I think that’s a little take-away from trying to balance a business from home, along with being a Mom to 3, wife, and basically holding up the house. Sometimes, you just have to call it a day, and pick up when you’re refreshed. It doesn’t all have to get done it one day.
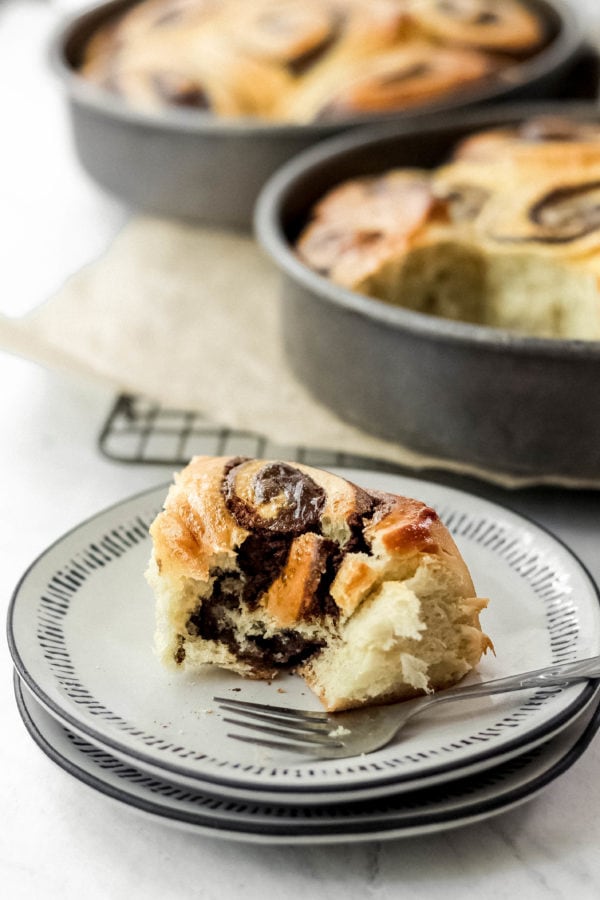
Back to these Chocolate Cheesecake Rolls! Although they sound super decadent and rich, they aren’t cloyingly sweet! The cream cheese in the cheesecake filling definitely has a savory quality and the unsweetened cocoa powder gives a deep dark chocolate flavor. They are perfectly sweet!
Working with this No-Fuss yeasted dough
I know a lot of people are intimated by a recipe that calls for yeast. They’re not sure if the yeast is proofed, or if the dough has risen enough. I understand these concerns. For these Chocolate Cheesecake Rolls, we’re not even proofing the yeast! You literally combine all of the ingredients into a stand mixer at once, and let the dough hook do the work for you.
You have to make sure that your yeast is fresh. Meaning, if it’s been sitting in your pantry for 2 years, don’t use it. Grab a new packet from the store and don’t risk it! Once you mix up the dough, you let it rise in the bowl (covered) for about an hour and a half at room temperature. You’ll know it’s ready when the dough has doubled in size, and feels light and pillow-y.
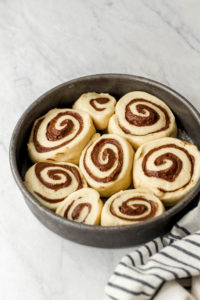
A note on rolling up the dough into a tight log: This is probably the most important part. When working with dough, you must repeat the mantra “I am in charge of the dough, I am master of the dough.” The dough can sense fear, and you have to be confident. You can take your time in rolling it up, but you have to commit. Once you start, you have to finish it. If you’ve never rolled up dough like this, just pretend it’s Play-Doh. You want the get the spiral as tight as possible. Also, it’s fine if it’s not perfect. These will taste incredible regardless.
You should make these Chocolate Cheesecake Rolls for a really special brunch on the weekend! You can even mix up the dough, and let it rise overnight in the fridge. The next morning, roll it out, spread it with the filling, roll them up, and let them proof, then bake.
I love when baking is impressive and all, but the real goal of Lion’s Bread is to get you baking! I want to give you recipes that speak to you, that aren’t overcomplicated, and above all, are incredibly delicious homemade treats. Seeing my recipes come to life in your kitchens makes me the happiest, because I see you sharing them with the people you love. If you make these Chocolate Cheesecake Rolls, or any of the recipes from the blog, share it and tag me @leanne.shor so I can see it!
We all have a lot going on, so don’t forget to save this recipe to your favorite board on Pinterest! Click on any of the images on this page to see the “Pin it!” icon.
Have an amazing weekend friends! Thank you for being here (heart eyes emoji haha) xoxo, LeAnne
Chocolate Cheesecake Rolls
An enriched, soft dough swirled with chocolate cheesecake filling. Light and pillow-y, these Chocolate Cheesecake Rolls are just the right amount of sweet
Ingredients
Dough
- 4 cups all purpose unbleached flour
- 2 tsp dry active yeast
- 1 cup whole milk room temperature
- 1/2 cup, 1 stick salted butter room temperature
- 1/2 cup granulated sugar
- 2 tsp kosher salt
- 1 egg plus 1 egg yolk
Chocolate Cheesecake Filling
- 12 oz. (1 and 1/2 bricks) Philly Cream Cheese room temperature
- 1 egg
- 1 cup powdered sugar
- 2 tbsp whole milk
- 1/2 cup unsweetened cocoa powder
- 1 tsp pure vanilla extract
- 2 tsp instant coffee granules
- pinch of salt
- 1 egg for egg wash optional
Instructions
In the bowl of a stand mixer, fitted with the dough-hook attachment, add the flour, sugar, dry active yeast, butter, and salt. Mix on low until combined. In a separate measuring cup, whisk the milk, egg and egg yolk together. Add the milk mixture to the bowl of the stand mixer, and mix until a smooth dough is formed, about 7 or 8 minutes. Add a few more tablespoons of flour if the dough looks too sticky. The dough should pull away from the sides of the bowl.
Cover the bowl with plastic wrap, and set aside to rise for about 1.5 hours, until doubled in size and puffy.
Meanwhile, make the filling. In a large bowl, add the cream cheese, milk, powdered sugar, cocoa powder, egg, vanilla extract, salt, instant coffee. Use an electric hand mixer to beat the mixture for about 5 minutes until smooth and light.
Gently place the risen dough on a floured work surface. Use a rolling pin to roll out the dough to roughly an 18x12" rectangle. Pour the cheesecake filling onto the dough, and use an offset spatula to spread the filling out into an even layer.
Gently, but tightly, roll up the dough into a long log. When you've reached the end, pull the edges and pinch them shut. Cut the dough into 12 rolls. My favorite way to get a clean cut is to use dental floss to slice the dough, try it!
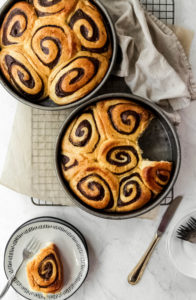
Preheat the oven to 350 degrees F. Spray 2 9-inch cake pans, or 1 9x13" baking pan very well with nonstick cooking spray. Place the rolls in the prepared pans, and cover with plastic wrap. Let rise for about 30 minutes. Optional: brush the tops of the rolls with a beaten egg for extra shine.
Bake the Chocolate Cheesecake Rolls for 40 minutes, or until very golden brown. Let cool, and serve with coffee or tea.
The post Chocolate Cheesecake Rolls first appeared on Lion’s Bread Blog.
Karen Anderson says
Running to the kitchen now!
LeAnne says
haha, love the enthusiasm! Yes, they are that good 🙂