

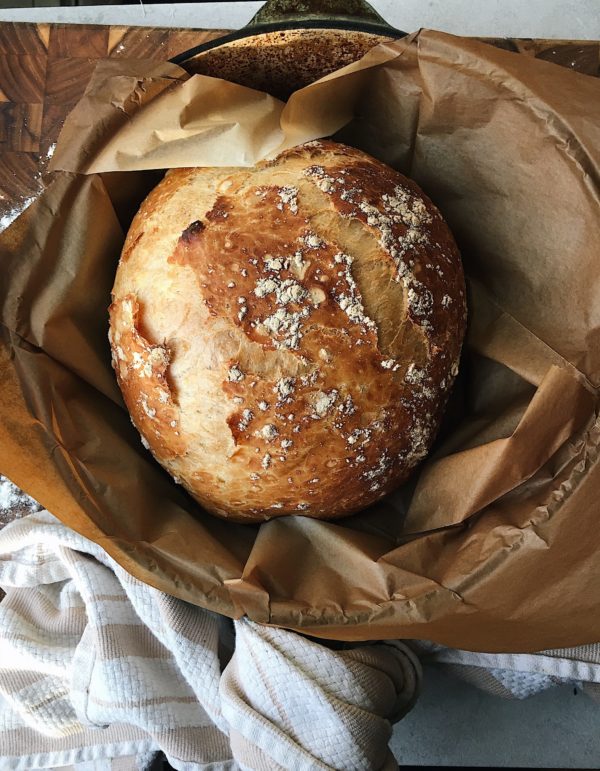
An impossibly simple, perfect loaf of crusty artisan bread – no-knead, 4 ingredients, no fancy equipment necessary
Not to dramatic, but this recipe is truly life-changing. I know that’s a bit hyperbolic, but you have to. trust. me. Everyday Artisan Bread is so simple, and so perfect in its simplicity.
Say it with me: FOUR ingredients, and only about 5 minutes of hands-on time. You in?? Of course you are. Let’s go girls.
This recipe is inspired by Jim Lahey, famed chef and owner of the Sullivan Street Bakery in NYC. A few years ago, he did a segment with Mark Bittman, NYT Food writer, demonstrating this crazy easy method to make incredible bread. He even goes as far as to say that a 4 year old could make. Guys, I have a 4 year old. He can make the bread. There is very minimal effort required, but you will need time (18 hours rise time), and a Dutch oven, like this one from Lodge.
Why you should make Homemade Bread
I love to bake cookies, pies, brownies, cakes…you name it. But for me, there is nothing more rewarding than baking my own bread.
I get serious ‘Balaboosta’ (look it up) vibes when I can serve my whole family crusty, earthy bread, straight out of the oven. Thank Gd, we don’t suffer from any gluten intolerance, and I think making my own bread with high quality, minimal ingredients has a lot to do with that.
It’s a very sensory/meditative process, and it makes me nostalgic for a simpler time – before corporations took over the farming and food industry and before bread had a list of 20+ ingredients on the supermarket shelves.
Want more simple bread recipes? Check out:
Overnight Whole Wheat Sandwich Bread
How to make Homemade Bread for Beginners
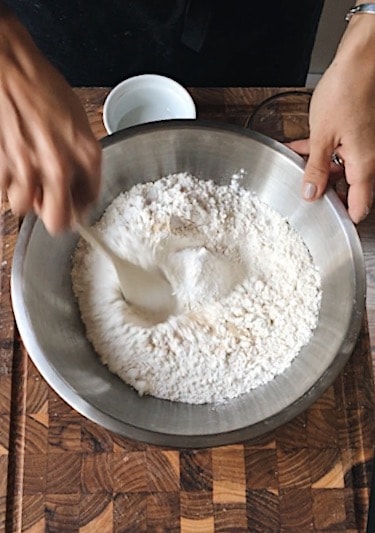
I cannot wait for you all to try this, and if I had to suggest one loaf of bread for beginners, this is it! The night before you plan to bake bread, simple mix flour, water, salt, and yeast in a large mixing bowl. Use a wooden spoon, then your hands to incorporate all of the ingredients until your dough comes together.
The dough should be pretty sticky, that’s fine! Cover the dough with plastic wrap, a shower cap, or place into a grocery bag to keep it airtight.
Let the dough bulk ferment at room temperature for 12-18 hours. I leave mine on the kitchen countertop. The temperature of the room greatly affects the fermentation time. A warmer kitchen (above 70 degrees F) will ferment the dough faster. A colder kitchen (below 70 degrees) will delay fermentation. Keep an eye on the dough, not your clock!
INGREDIENTS
- Flour – For this loaf, I use unbleached all purpose flour from King Arthur Baking Company. It has a higher protein content than most AP flours. You could bread flour if that’s what you have. If you want to add whole grain flour, replace 100g of the total flour amount with the whole grain flour of your choice. Do not substitute the total amount of flour for whole grain flour, as the results will vary greatly, and you will likely end up with a much more dense loaf of bread.
- Water – I use filtered, room temperature water. Spring bottled water would work too. You just want to avoid using tap water that may have added “purifying” chemicals like chlorine, which can kill sourdough yeast bacteria, and prevent fermentation.
- Dry active yeast – I use dry active yeast in this recipe, and my favorite brand is Red Star Yeast for its consistent and professional results. I mix the dry active yeast with the warm water to activate it, or “wake it up.” Also, I always store my yeast in the fridge to prolong its shelf life.
- Kosher salt – I use Morton’s kosher salt in all of my bread recipes. If you are using Diamond Crystal, add another 4 grams of salt.
TOOLS I USE:
- Large mixing bowl – one the most FAQ, this is my favorite bowl for mixing dough!
- kitchen scale – this is an absolutely necessary tool for baking bread. If you want consistent, professional results, weighing your ingredients with a scale is a must.
- Danish dough whisk – this is a quirky looking tool that is actually very useful for mixing up bread dough. If you make bread often, I highly recommend getting one!
- bread lame for slashing dough – there are many styles of bread lames, and ultimately choose the one that is most comfortable in your hand. I love this round style, and I’ve tried almost every style out there.
Baking Everyday Artisan Bread
About an hour before baking, preheat your oven to 450 degrees F, and place a large Dutch oven inside to preheat as well. Baking the loaf inside of a Dutch oven will trap the steam while the loaf is baking, and help keep the crust soft while the bread rises.
After the long fermentation, the dough will look bubbly, and jiggly. Once the dough is ready to be shaped into a boule shaped loaf, flour your work surface well. Pour the dough out onto the work surface, and start shaping it into a boule by bringing the four sides into the center, then the corners in as well. Pinch the center to seal. Dust on a bit more flour. And place the shaped loaf on a piece of parchment paper. You can either slash/score the top of the bread, or leave it to split naturally.
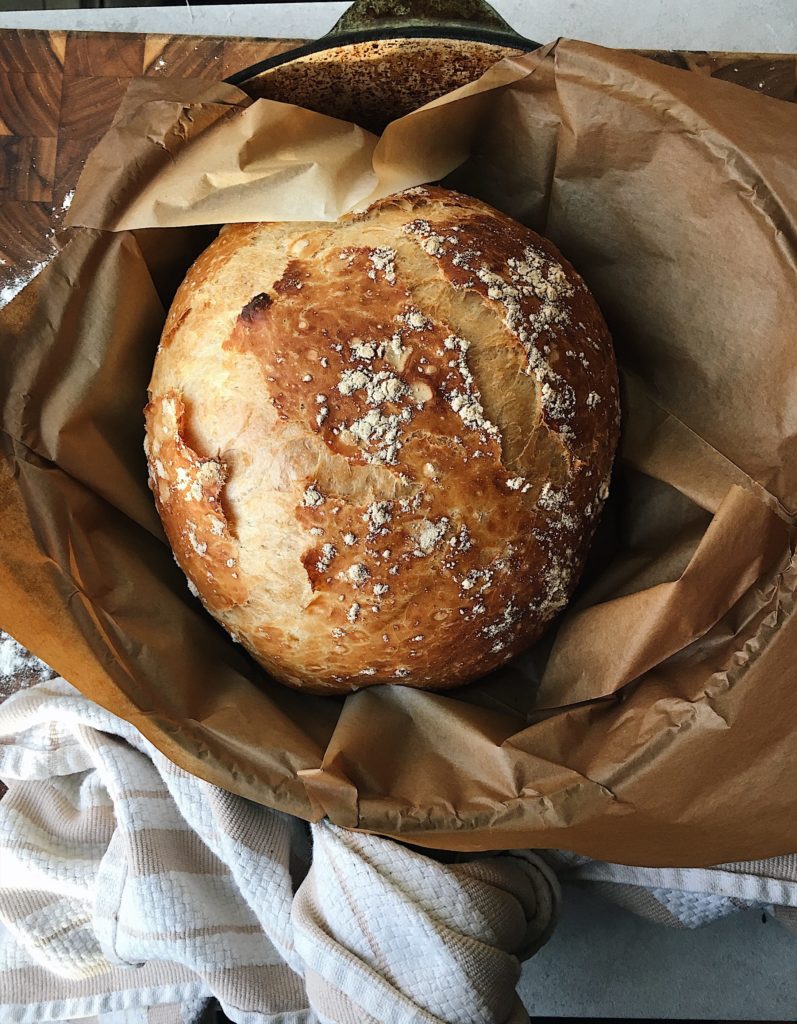
Place the bread with the parchment paper into the hot Dutch oven. Cover with the lid and bake for 25 minutes. Then, carefully remove the lid, and bake the bread for another 20-25 minutes until the crust is deeply golden brown and crusty.
How to store homemade bread
Keep your freshly baked sourdough bread in an airtight bag at room temperature for up to 4 days. After that, it’s best to keep any leftover bread in the freezer. Frozen slices or loaves of bread can be stored in the freezer for up to 2 months. I often slice the bread, then freeze, so that I can pull out a few slices when I want them, then reheat in the toaster.
If you want to freeze a whole loaf, let it thaw at room temperature, then reheat in a 350 degree F oven for 10 minutes. Pro tip: sprinkle the crust with water for a freshly-baked crispy crust. When freezing bread, try to remove as much air from the bag as possible to avoid freezer burn.
Without further ado, grab a big mixing bowl, a wooden spoon, and let’s do this!
Want to Pin this recipe for later? Simply click the Pin It icon on any of the images to save it to your favorite boards!
Love this recipe? Be sure to check out Homemade Sourdough Bread, Same-Day Country Loaf, and Sourdough Baguettes
THE RECIPE
Everyday Artisan Bread
Ingredients
- 4 cups unbleached AP flour 600g
- 2 cups room temperature water 472g
- 3/4 teaspoon dry active yeast 3g
- 2 teaspoons kosher salt, I use Morton's 10g
Instructions
- In a large mixing bowl, combine the flour, salt, and yeast. Use a wooden spoon to mix. Add the water, and stir until blended, and a shaggy dough has formed.
- Cover the bowl with plastic wrap, then drape a kitchen towel over the plastic. Let the dough rest for 18 hours at room temperature, preferably around 70*F.
- Preheat the oven to 450*F. Place a dutch oven in the oven while it is preheating. The dutch oven should be heated for at least 15 minutes, once the oven reaches 450*F. The dough is ready when it is very puffy, jiggly, and the surface is full of air bubbles. Generously flour a work surface, and gently slide the dough out of the bowl, onto the floured surface. I like to run a rubber spatula around the bowl to release the sticky dough, to avoid disturbing the air bubbles in the dough as much as possible.
- Sprinkle the top of the dough lightly with flour, and gently fold the corners of the dough into the center. Flip the dough over, so the folds are facing down. Sprinkle a bit more flour, and gently shape the dough into a ball by pulling it towards you a few times. Don't knead, just a few times until a round shape is formed.
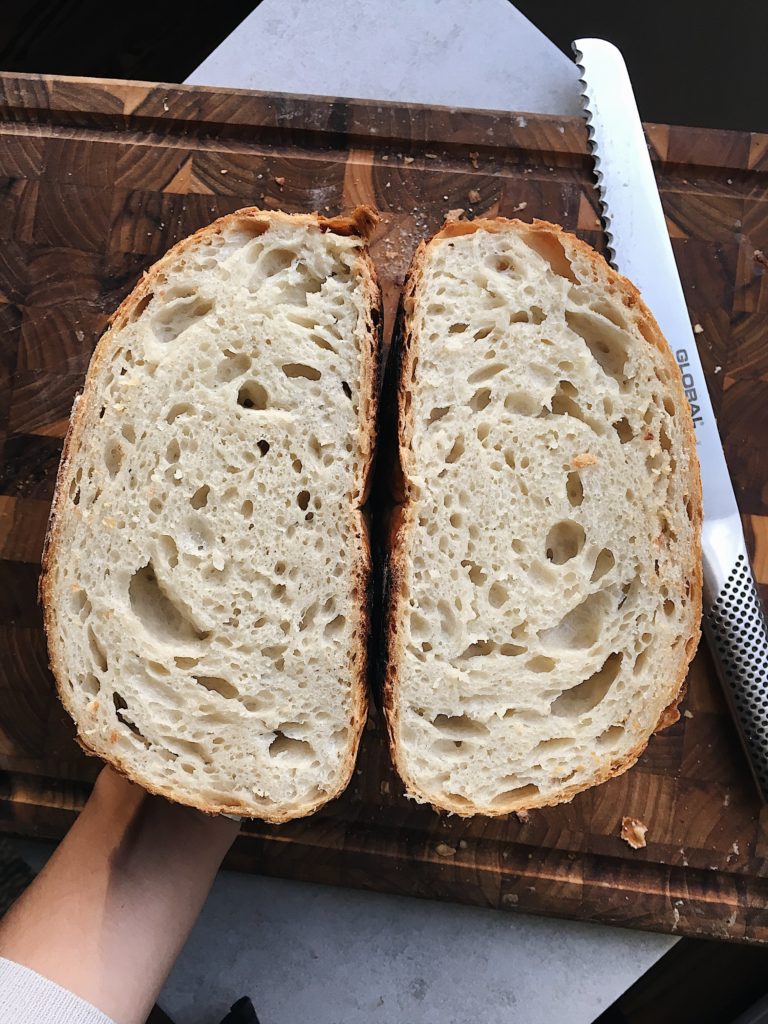
Place the dough, seam side down, on a sheet of parchment paper. Use a sharp knife to quickly slash the top. With oven mitts, carefully remove the preheated dutch oven from the oven, and place on a trivet or on the stove. Remove the lid. Pick up the parchment paper with the dough on it, and place it in the dutch oven. Put the lid back on, and bake for 25 minutes. Remove the lid, and bake for another 20-25 minutes until the crust is deeply golden brown. Let the bread cool completely on a baking rack, before slicing it, at least 2 hours.
The post ‘Everyday Artisan Bread’ first appeared on Lion’s Bread Blog.
Kristyn Lucci says
Hi! I read your other post about how to incorporate mix-ins into dough, but I was wondering when is a good time/after what step in this recipe would I add these things in?
Sorry if this is a silly question! Thank you for your help and recipe!
LeAnne says
Great question! I would mix all of the ingredient together, cover the bowl, and let it rest for about 15 minutes at room temperature. Then, I would add the mix ins with the dimpling method. Hope that helps!