

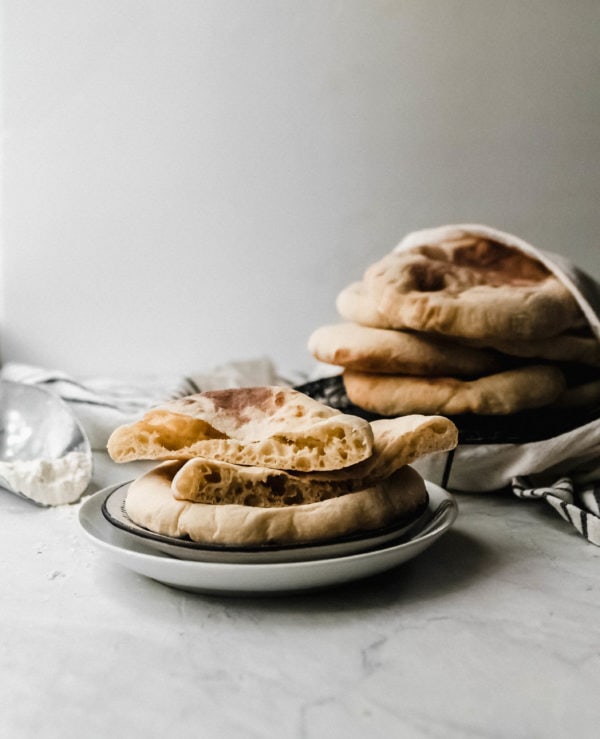
Soft, pillowy and fluffy, this Israeli-style homemade Pita Bread only requires 4 ingredients and is so satisfying to make with your family!
Hi guys!
I’m super excited to finally share this recipe with you! I feel like I’ve been kind of teasing about it on Instagram for way too long. To be honest, I wanted to get a feel for just how many of you are into baking artisan bread at home. Turns out, you were all for it! Nothing makes me happier than getting that kind of feedback! Homemade Pita Bread is a great place to start in baking bread at home. Pita can be made in about 3 hours or less, from start to finish.
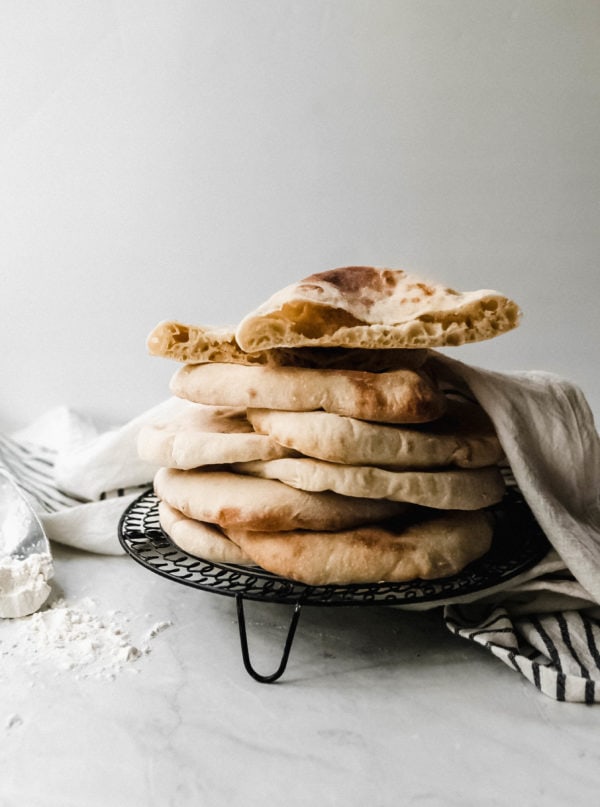
Why make your own Pita Bread at home?
This is what you might be wondering, amiright? Pita is so widely available in almost every grocery store around the country, so why would you make it yourself? I won’t mince words here: the pita products that you find in most supermarkets are usually paper thin, a bit stale, and very blah tasting. I had never had a true pita until we moved to Israel, when I was 8 years old. The pita bread there is a pillow-y, chewy, airy dream and is usually filled with 4 or 5 sauces and salads, falafel of course, possibly shawarma. My favorite, however, is fresh pita (baked that day) to mop up freshly made hummus and tahini. If you haven’t checked out my Authentic Jaffa Style Hummus, now is a great time! There’s just nothing like it. In fact, when you buy a bag of pita from the shuk (market), you can literally see the steam on the inside of the bag. That means the pita was bagged while it was still warm from the oven – a very good sign.
My hope for all of you is that you can make it Israel one day to experience the incredible food scene. In the meantime, make a batch of your own Fluffy Homemade Pita Bread to get a taste of the real deal.
Tips for making Homemade Pita
There are two tools that you’ll need for this recipe: a stand mixer, and a pizza stone. The stand mixer helps easily knead the dough and develop the stretchy gluten that makes our pita chewy and delicious. You actually bake the pita on a preheated pizza stone in your 500 degree F oven, instead of on a baking sheet. It is crucial for the dough to hit that insanely hot stone to create a successful pita pocket.
About the dough: I add a bit more water to the dough than you may see in other pita recipes. This obviously makes the dough a bit stickier to handle. Upping the hydration actually makes a more chewy, tender pita, so don’t be annoyed or scared if the dough is a little sticky. Flour your hands and the board well, and you’ll be good to go. You can either use high gluten bread flour here, or just regular unbleached all purpose flour. I’ve tested both several times, and haven’t noticed a significant difference. The amount of moisture in the dough is a bigger deal.
I can’t wait for you all to try this recipe, and I can’t stress enough how delicious and satisfying it is to make your own pita at home. Leave a comment below with any questions or comments that you have, and don’t forget to Pin this recipe to your favorite boards so you can get back to it time and again! Just click on the “Pin It” icon on any of the images. If you make this Fluffy Homemade Pita Bread, or any of the recipes from the blog, be sure to tag me @leanne.shor on Instagram so I can see what you’re making!
Love this recipe? Check out: Everyday Artisan Bread, Multigrain Seed Bread, and Lion’s Bread Original Challah
Happy Baking xoxo, LeAnne
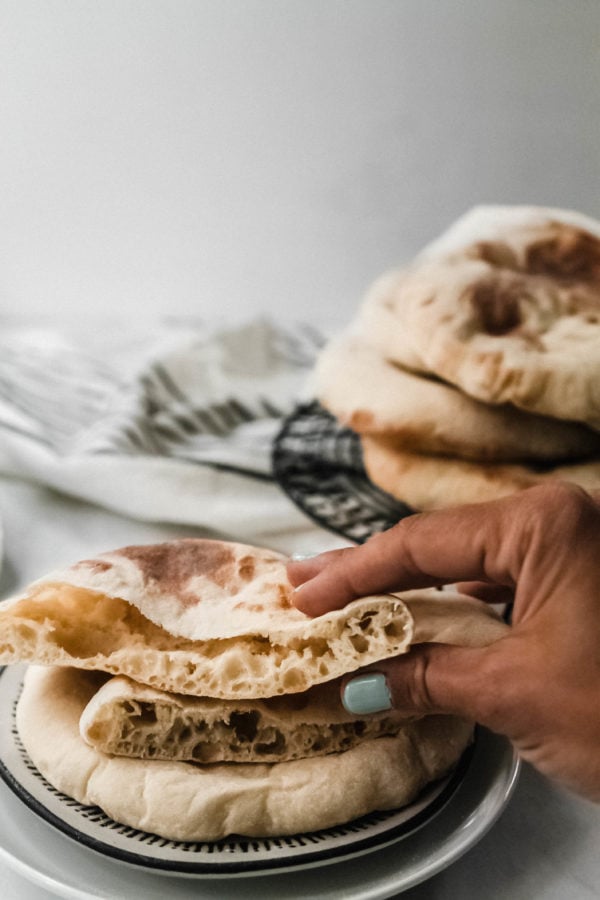
Fluffy Homemade Pita Bread
Soft, pillowy and fluffy, this Israeli-style homemade Pita Bread only requires 4 ingredients and is so satisfying to make with your family!
Ingredients
- 2 1/2 tsp active dry yeast
- 1 2/3 cups warm water about 95 degrees F
- 1 tsp granulated sugar
- 1 1/4 tsp kosher salt I like Morton's
- 4 cups unbleached all purpose flour
Instructions
In the bowl of a stand mixer, combine the warm water, yeast, and sugar. Use a small whisk to thoroughly combine. Let the yeast proof for about 5 minutes, until the mixture is foamy and bubble.
Make sure the stand mixer is fitted with the dough hook attachment. Add the kosher salt to the bowl, and 1 cup of the flour. Mix on low, while slowly adding the rest of the flour, until it is fully incorporated. Knead the mixture on low for about 5 minutes. The dough should look sticky, and should just form a loose ball. Remove the dough hook, scraping any dough bits off it. Cover the bowl with plastic wrap and let rise at room temperature for about an hour and half until the dough has doubled in size.
Place your pizza stone into the oven, about 8 inches from the top. Preheat the oven to 500 degrees F.
Flour your work surface well. Use a rubber spatula to slowly pour out the dough onto your work surface. Make sure your hands are floured, and gather the dough into a ball, tucking the edges under. Use a bench scraper or sharp knife to cut the dough into 8 equal pieces. Roll each piece into a smooth ball with your hands, and place on the floured board to rest for 5-10 minutes. Dust some flour on the top of each ball, and cover loosely with a piece of plastic wrap.
Roll out one ball at a time into a flat 6-inch circle, making sure the dough doesn't stick to the rolling pin or work surface. Quickly place 2 pitas on the hot pizza stone at a time. You want to make sure that they're totally flat. It may take some practice, but be confident when you gently toss the dough onto the stone. Bake for 4-5 minutes, until the pita bread puffs into pillow-y pocket. Remove the pitas, and place on a rack to cool. Once all of the pitas are baked, place them into a plastic bag. The little bit of steam actually keep the pita bread soft and moist.
The post Fluffy Homemade Pita Bread was first published on Lion’s Bread blog.