

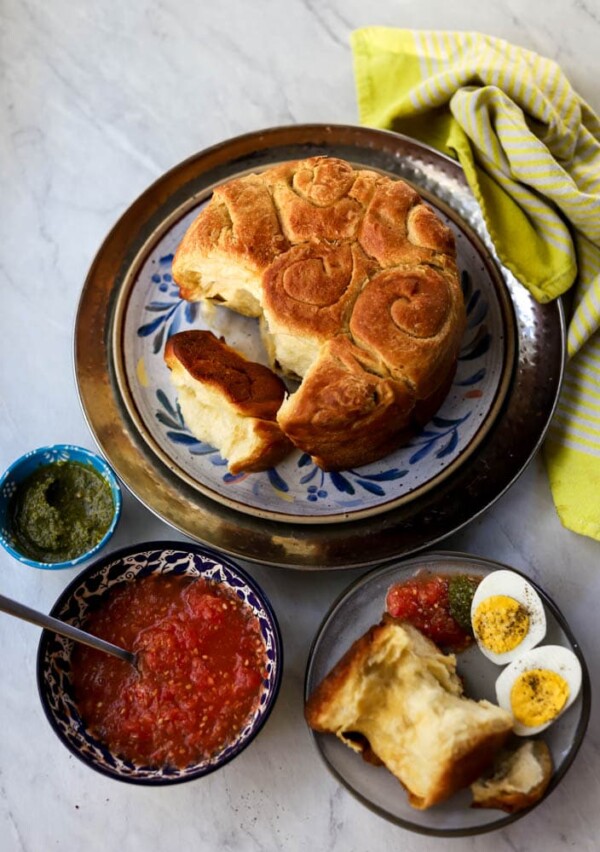
Fluffy, buttery Homemade Yemenite Kubaneh bread is like pull-apart rustic brioche, decadent and delicious! AKA Hannah’s Kubaneh
What is Yemenite Kubaneh?
Kubaneh is a traditional yeasted Yemenite Jewish bread that is really popular in Israel, and around the world. The fluffy dough is layered with plenty of softened butter, and then shaped into pull apart rolls.
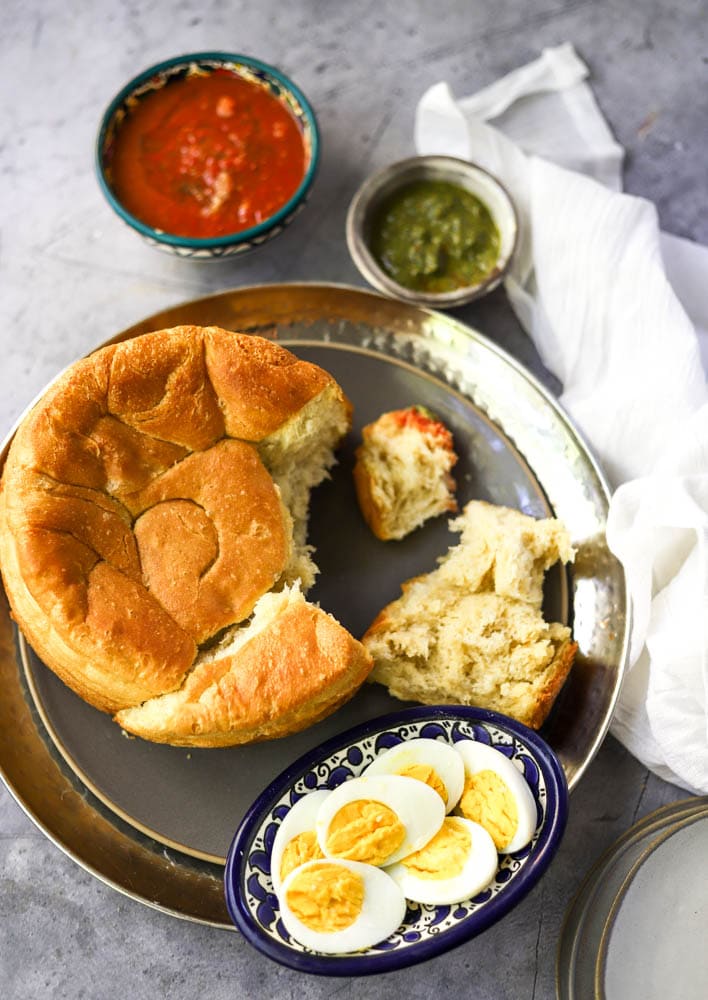
Kubaneh is traditionally baked overnight, low and slow, to be served for Shabbat (Saturday) morning. Yemenite Kubaneh is usually accompanied by grated fresh tomato (resek agvaniyot), spicy schug, and hard boiled eggs called “haminados.” One of my favorite ways to eat Kubaneh is the way my best friend’s Danielle’s Mom, Hannah serves it. She slowly cooks brothy kidney beans for several hours, serves them in little cups next to the kubaneh, using the fluffy kubaneh to soak up the broth.
Kubaneh can be made overnight in the oven at a really low temperature, or baked for about 45-50 minutes.
Want more artisan recipes like this? Check out:
Israeli Bourekas with golden potatoes and caramelized onions
Golden Chicken Soup (Marak Temani)
Homemade Kubaneh Ingredients
flour – I prefer to use King Arthur Baking Company flour for most of my bakes. Their flour is available is most American grocery stores, an online, and always delivers consistent, professional results.
water – I use water that’s about 85 degrees F, slightly warmer than room temperature. It’s important that the water is not too hot, otherwise it will kill the yeast, and your Kubaneh won’t rise properly. A lot of the tap water in the US is treated with chemicals like fluoride and chlorine, which can negatively affect the rise of our dough. To avoid this, I prefer to use filtered spring water for all of my bread baking.
dry active yeast – I use dry active yeast in this recipe, and my favorite brand is Red Star Yeast for its consistent and professional results. I mix the dry active yeast with the warm water to activate it, or “wake it up.” Also, I always store my yeast in the fridge to prolong its shelf life.
salt – I always use Morton’s kosher salt. I love the level of salinity. If you’re using Diamond Crystal, add an extra 1/2 teaspoon.
butter – it’s very important for the butter to very soft here – just before melting! it has to be easy to smear across the paper thin dough without tearing it! My favorite brand of grass fed butter is forever Kerrygold.
Tools I use:
or you can use springform pan
Step-by-Step: How to make Kubaneh at home
- Mix up the dough
- Let it rise at room temperature
- Brush on plenty of melted butter and shape into rolls
- Let rise again
- Bake at 350 degrees for 45-50 minutes or 225 for 10-12 hours
- Serve with grated tomato and schug
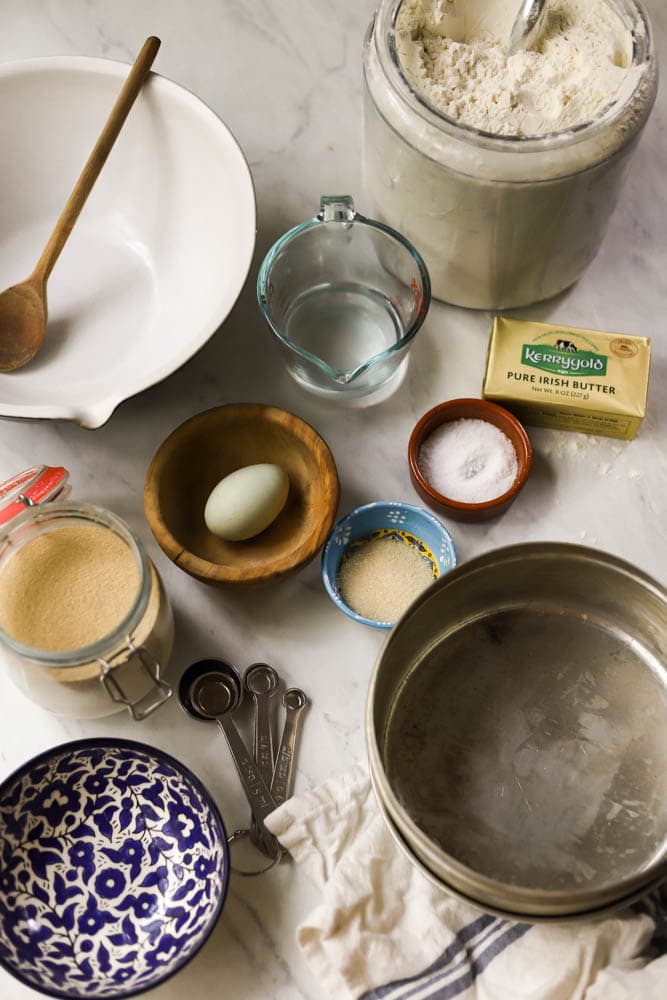
ingredients
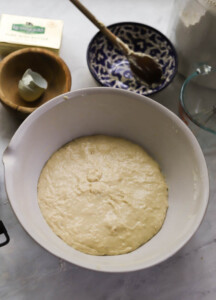
just-mixed dough
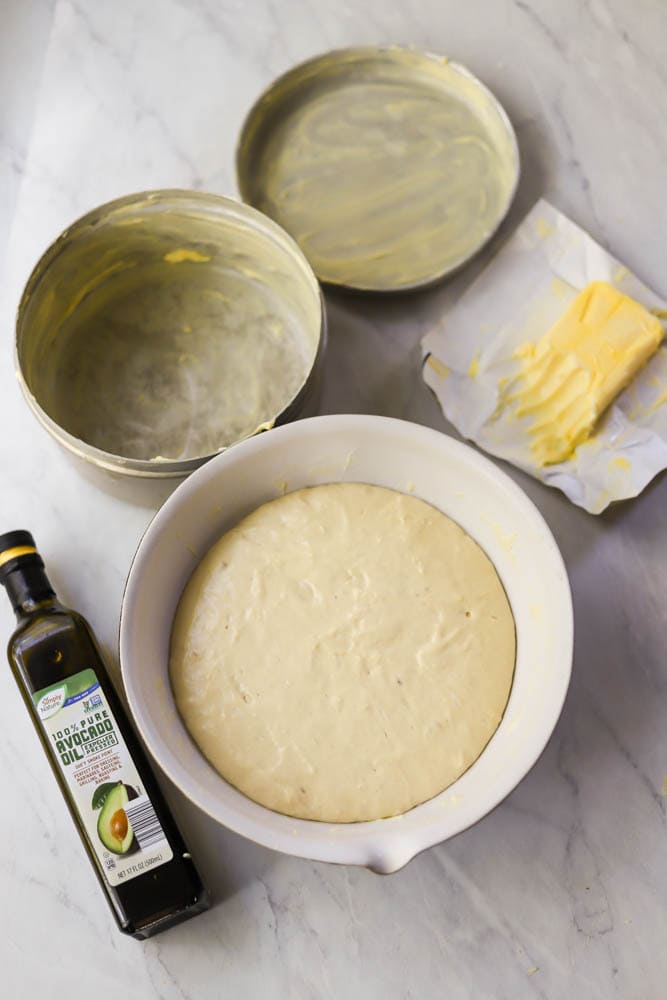
puffy risen dough
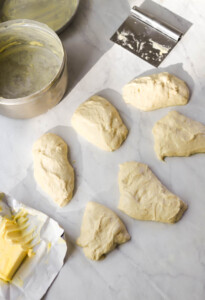
dough divided
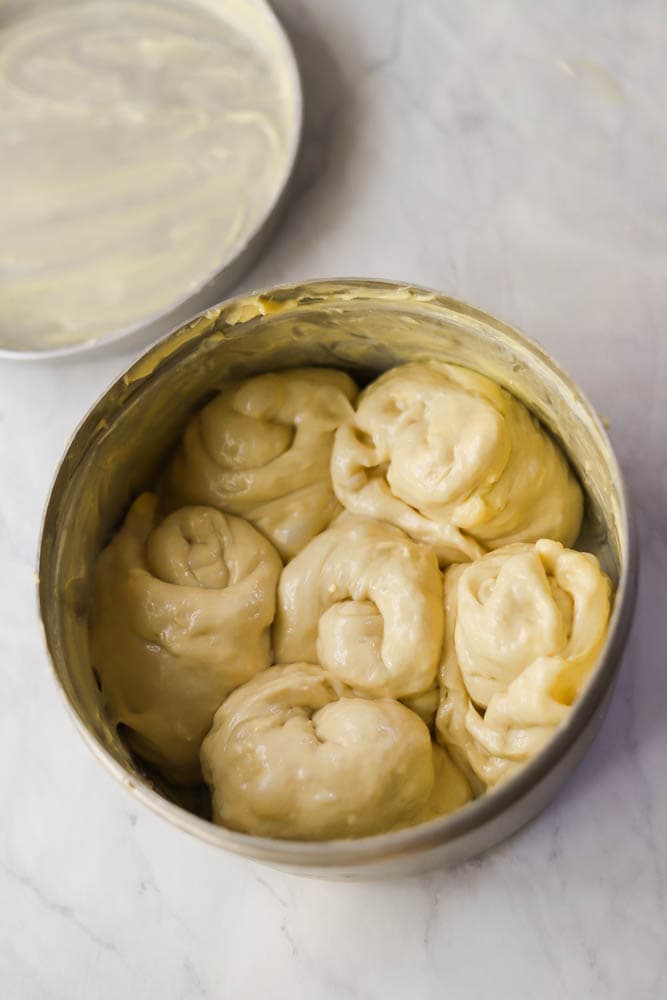
shaped pull-apart rolls
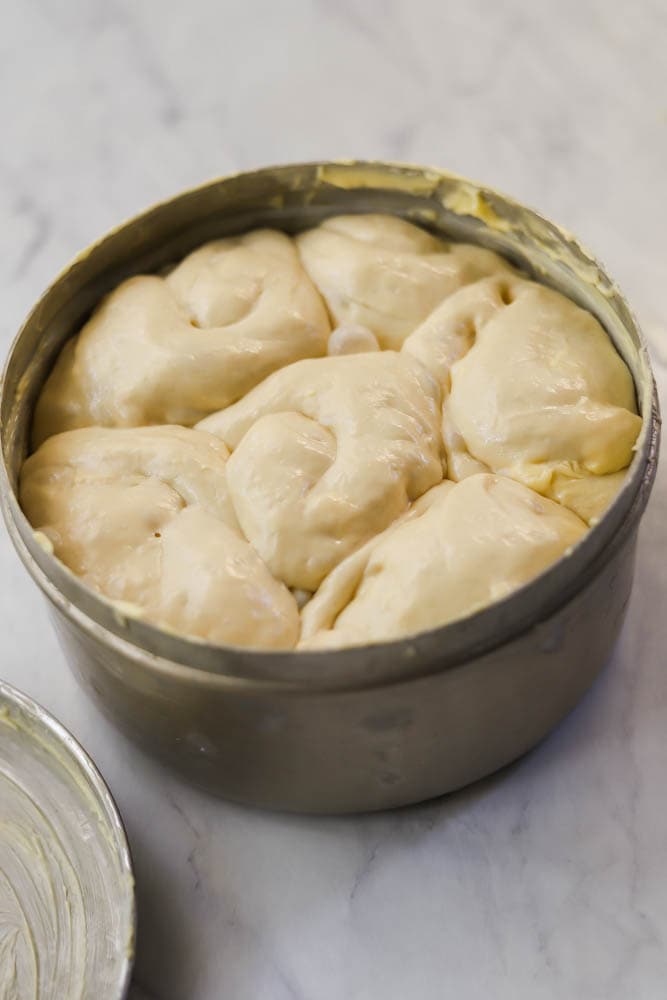
risen rolls
How to serve Homemade Yemenite Kubaneh
Kubaneh is traditionally served with grated fresh tomato (resek agvaniyot) and spicy schug, which is a fiery Yemeni cilantro based condiment.
That being said, my best friend’s mother, Hannah, also Yemenite, always serves Kubaneh with some slow cooked kidney beans that are so soft and melt in your mouth. You dip the Kubaneh in the grated tomato and schug, the use it top soak up all those delicious juices from the beans. It’s SO GOOOOOD.
How to Store Kubaneh
Kubaneh is best eaten when it is warm and fresh out of the oven. You can store any leftovers in an airtight container at room temperature, then reheat is a toaster or oven at 350 degrees F for about 10 minutes.
I can’t wait for you to try this traditional Homemade Yemenite Kubaneh Bread Recipe! Remember to tag me @lions.bread in your pics so I can all of the delicious things you’re making from my site. I love seeing my recipes come to life in your kitchens.
Want save this recipe for later? Just click on the “Pin It” buttons on any of the images to save it to your favorite Pinterest Board.
xo – LeAnne
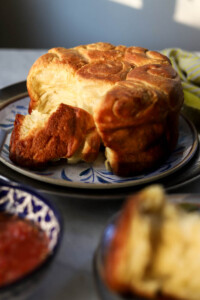
pull apart magic – Kubaneh is perfect for sharing on a brunch table

the fluffiest, buttery interior crumb

serve Kubaneh with grated tomato and spicy schug

flipped – the crispy caramelized edges are to.die.for.
Homemade Yemenite Kubaneh
Fluffy, buttery yeasted Authentic Yemenite pull-apart bread
Ingredients
- 3 3/4 cups unbleached all purpose flour approx 500g
- 2 teaspoons dry active yeast 7g
- 2 tablespoons brown sugar 23g
- 1 ¼ cups water room temperature, 295g (divided)
- 1 ½ teaspoon kosher salt 3g
- 1 egg
- 3/4 cup butter 200g, room temperature
- 1/4 cup avocado oil for the work surface and hands
Instructions
- Thoroughly rub a round 8-inch jachnun pan or a springform pan with plenty of room temperature butter. Be sure to butter all the way up the sides, and the inside of the lid if using a Jachnun pan.
- In a small bowl, combine 1/2 cup warm water (about 90°F) with the yeast and brown sugar. Whisk to gently dissolve the yeast and the sugar.
- To a large mixing bowl, add the flour and kosher salt. Use a wooden spoon to combine, then make a well in the center of the dry ingredients. Slowly pour in the remaining water and the yeast/sugar mixture as well as the egg.
- Stir with the wooden spoon until all of the water is incorporated, and the dough has come together. The dough will be sticky and wet, that’s perfect. Mix for 2-3 minutes, cover and let it rest for an hour at room temperature, or until it has doubled in size.
- Pour about a tablespoon of the avocado oil onto your clean work surface, and use your hands to spread it out. Pour the dough out onto the work surface, then use a knife or a bench scraper to divide the dough into six equal pieces. Working with one piece of dough at a time, gently stretch the piece of dough out into a small rectangle. Next, put about 2 tablespoons of softened butter on each piece of dough, spreading it out as evenly as you can, or breaking it up in dots. Bring one of the long sides into the center, then fold the other long side on top of it. Add a few more dots of butter, then gently roll it up from the short side up. Place the shape to roll into the prepared baking pan, with the roll facing up.
- Repeat the process with the remaining five pieces of dough, and place them all into the prepared baking pan, it should be snug and they should all be tucked in closely. Placed the lid on top of the baking pan, or cover with aluminum foil (buttered on the inside) if using a springform pan. allow the dough to prove once more for about 35 to 40 minutes until it is very puffy and jiggly.
- Meanwhile, Preheat the oven to 350°F. Bake for 35 to 40 minutes, then remove the lid and bake for another 10 minutes uncovered.
- If you’re making this for Shabbat, bake for 35 minutes, then remove from the oven and let cool. The next morning reheat for 10 to 20 minutes in a preheated 300° oven or on a ‘plata’ until it is warmed through and the edges are crispy.
- Serve with hard boiled egg, grated fresh tomato “resek” with a pinch of salt and pepper, and spicy Yemenite schug.
- Alternatively: Cook on the stove top on low heat for 45 minutes. Flip the pot and cook for another 15 minutes.
- On Shabbat morning, place in 300° oven, uncovered, and to reheat until crispy.
The post Home Yemenite Kubaneh Recipe first appeared on Lion’s Bread Blog.