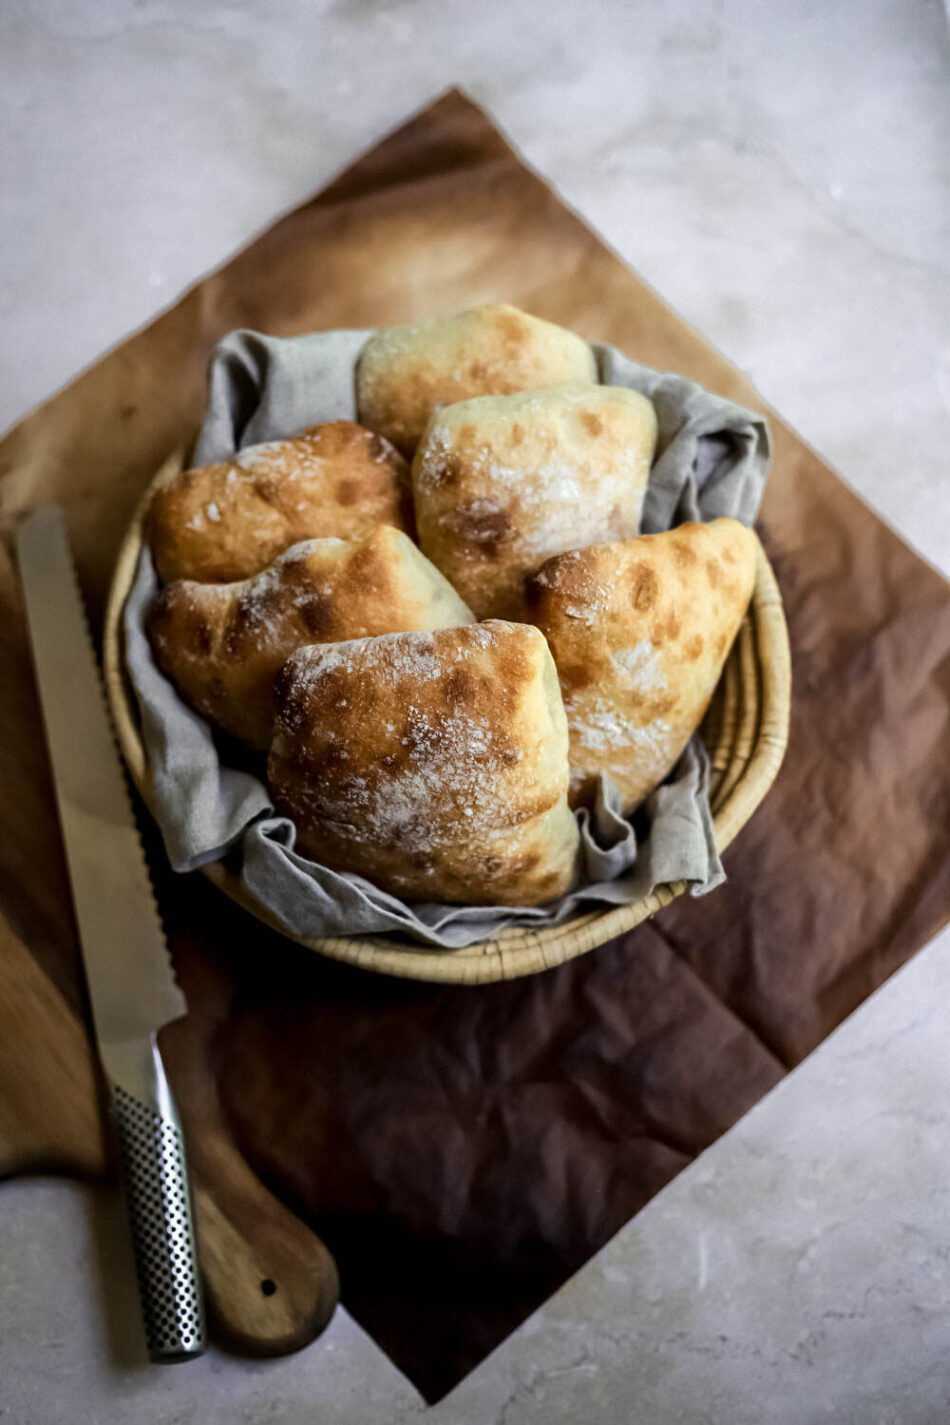
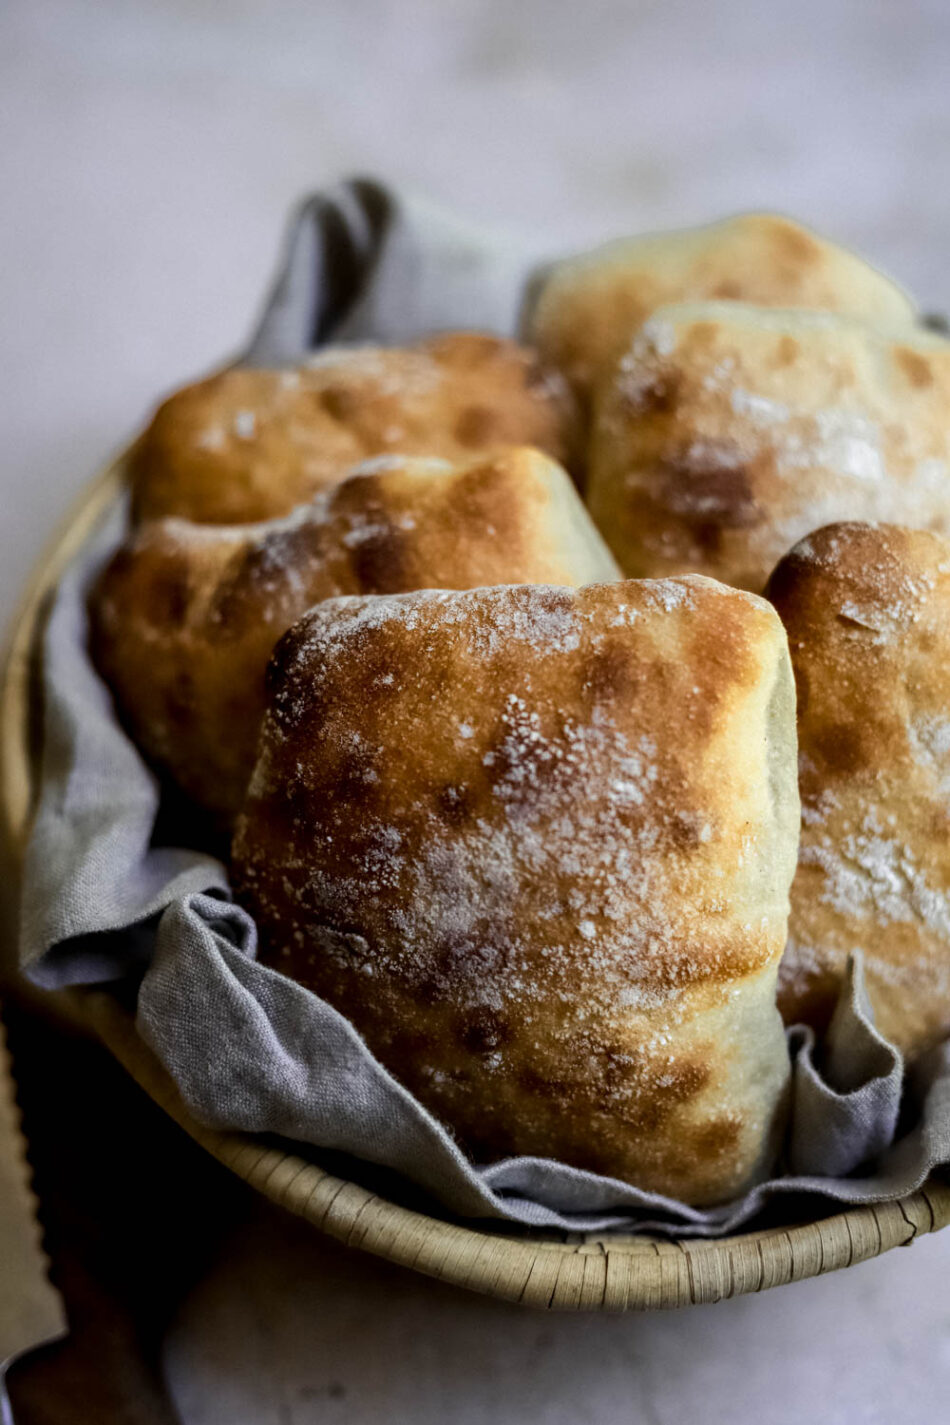
pillowy airy rolls of flat-ish bread with a crisp crust – these Easy Sourdough Ciabatta Rolls are naturally leavened with your sourdough starter
Once again, I’m sharing one of my favorite ways to use your Sourdough Starter! Don’t have a starter? I got you. Check out my easy step-by-step 7-day tutorial to make your own Sourdough Starter here.
I tested this recipe Easy Sourdough Ciabatta Rolls about 20 times, in order to get it just right for you. Like all of my bread recipes, my goal is to eliminate any and all unnecessary steps, but still deliver amazing results. In my Sourdough bread recipes, I usually like to use a whole wheat starter, but for these airy loaves, I prefer a starter made with unbleached AP flour. It creates a creamy chewy crumb, with a slight tang. The choice is completely up to you, of course!
What is ciabatta bread?
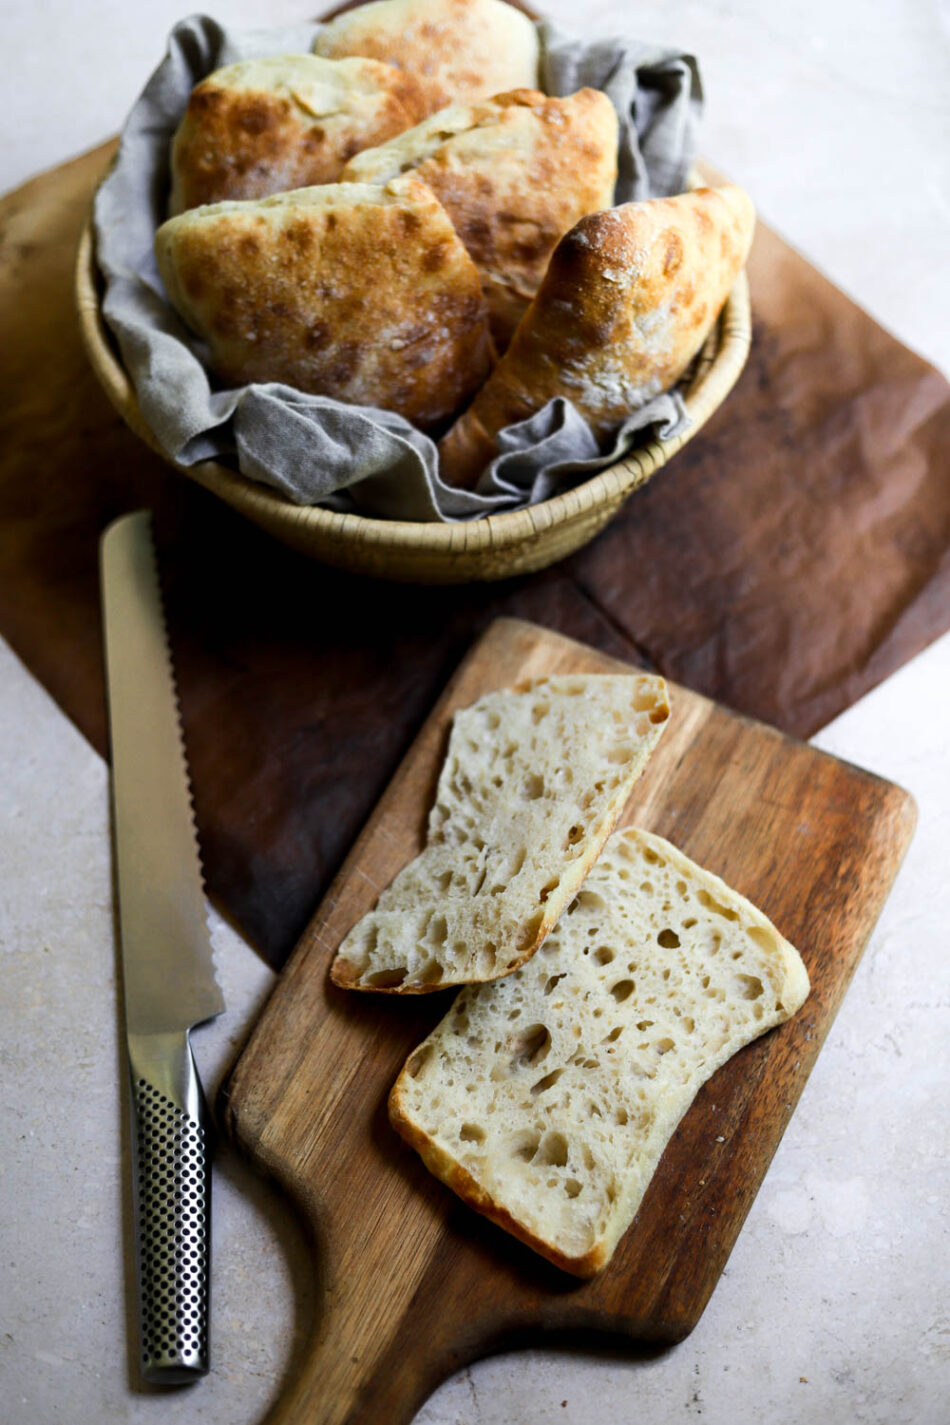
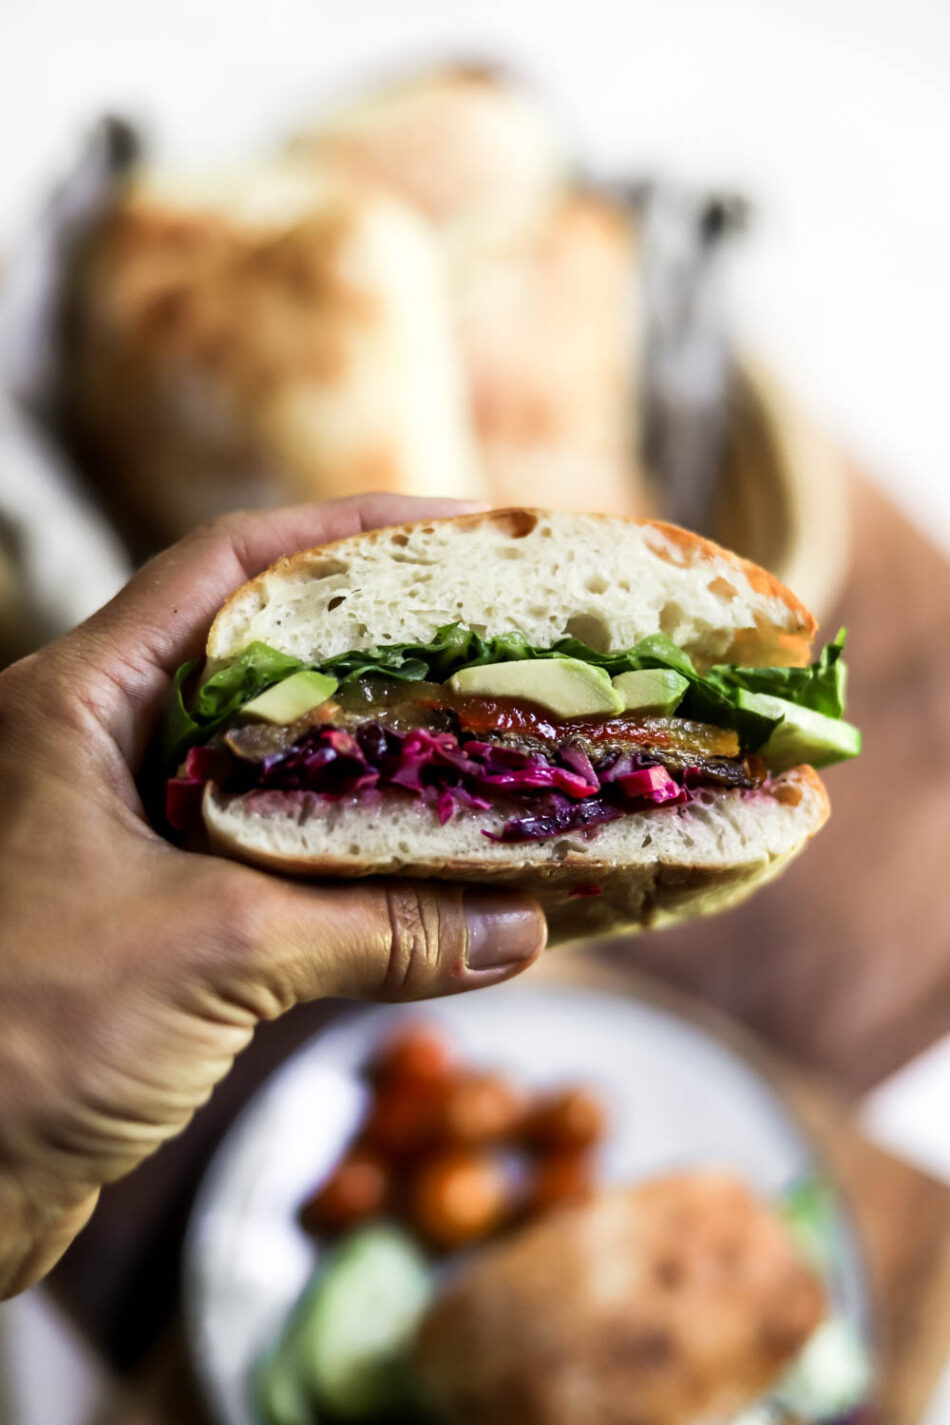
Ciabatta is a flat-ish rustic Italian bread. Ciabatta in Italian actually means “slipper” because the shape of loaf resembles a slipper, haha. The goal of making ciabatta is to create a very light and airy interior, while creating a thin crispy crust. Not that different from a baguette actually, but the shaping, ratios, and method do differ. This is perfect bread for delicious homemade garlic bread, amazing sandwiches, and really great toasts. This recipe can either be made into 3 loaves, or into 10-12 individual rolls.
How do you make easy sourdough ciabatta rolls?
The method is very simple! My recipe doesn’t require a stand mixer or any fancy equipment (I did that on purpose, for you!) You literally mix everything, by hand, in a bowl. The one thing you do need is a good pizza stone. These rolls are baked on a preheated pizza stone, which gives the crust that crispy crunch. My favorite way to make this ciabatta is to mix the dough early in the morning, then let it bulk ferment at room temperature during the day, then throw it in the fridge to continue to bulk ferment overnight.
Since this is a very high hydration dough, it’s super sticky to work with. When the dough is cold from the fridge, it’s much easier to handle. The next morning, I generously dust my work surface with flour, and pour out my chilled dough. I divide the dough into rolls, and let proof on a baking sheet lined with a clean kitchen towel that’s been generously floured. If you have a bread couche, use it here! Then, bake on the preheated pizza stone with plenty of steam in the oven. This recipe make about 6-8 small rolls, but you can also easily divide this dough into 3 larger pieces and bake loaves of ciabatta (perfect for garlic bread!).
How to Bake with Steam
Baking Sourdough Ciabatta in a hot and steamy oven is crucial! By adding plenty of steam to a very hot (500 degree F) oven, you’re keeping the outer crust soft, and allowing the ciabatta rolls to rise to their full potential. If you didn’t use steam, the outer crust would harden almost immediately when you launch the dough into the hot oven.
While my oven is preheating, I place a small cast iron pan, or small baking pan, into the oven. Meanwhile, I boil a tea kettle of water. As I’m placing the dough into the oven, I pour the boiling water into the preheated pan, about 2 cups. Be really careful here, and wear actual oven mitts for this part or you’ll burn your forearms, and potentially drop your kettle on your glass oven door (please don’t do that!). There are several different methods for creating steam, including throwing ice cubes in, damp towels, or using a spray bottle. This is my favorite method, but feel free to try them all and find your favorite, of course.
Ingredients
I like to use high quality, fresh flour here. Since we’re only using 3 ingredients, it’s very important that our flour is good.
- flour – My go to is the unbleached AP from King Arthur Flour. I even find it at my big-box store and buy a huge bag (hi, hello, I make a lot of bread.)
- water – When making sourdough, I always use filtered water, or bottled spring water. The problem with using tap water, is that a lot of the tap water in the US has chlorine in it to purify the water. This chlorine actually kills a lot of the good bacteria in our sourdough starters (the more you know 😉 )
- kosher salt – This recipe is formulated using Morton’s Kosher Salt, which is saltier than Diamond Crystal. If you’re using Diamond Crystal, use 12g of salt. If you’re using finely ground sea salt, use 9g.
- extra virgin olive oil – using olive oil in the dough helps create a crisp crust and soft crumb on the inside. I use an extra virgin olive oil because I love the slight fruitiness. You can also use regular olive oil, but i wouldn’t recommend using vegetable oil or canola oil.
- sourdough starter – as I mentioned above, check out my FULL GUIDE to make a sourdough starter at home. Your starter should be fed about 8-12 hours prior, and should be active and bubbly for this recipe.
The equipment I use
Pizza peel (optional but very helpful and handy)
Baking Timeline:
Day 1
9:00am: Mix up the flour and water, olive oil, kosher salt, and ripe sourdough starter. Mix well. Cover, and let sit at room temp for 45 minutes.
9:45am: Stretch + fold #1, cover, let rest for 30 minutes.
10:15am: Stretch + fold #2, cover, let rest for 30 minutes.
10:45am: Stretch + fold #3, cover, let rest for 30 minutes.
11:15am: Stretch + fold #4, cover, let rest for about 3 hours at room temperature. Then, move the dough to an airtight container to the fridge for 12-18 hours.
Day 2
8:00am preheat oven w/pizza stone.
9:00am Create steam in oven. Bake ciabatta for 20 minutes with steam, and 10-15 minutes without steam to crisp up the crust. Allow to cool completely.
How to Store Easy Sourdough Ciabatta Rolls
These Sourdough Ciabatta Rolls can be stored at room temperature for up to 3 days. They also freeze really well, in an airtight bag or container for up to 2 months. Allow to thaw completely, then refresh in the toaster or 350 degree F oven for 10 minutes.
I really hope you love these Easy Sourdough Ciabatta Rolls as much as I do! We’ve been eating them nonstop for a month, and can’t get enough. As always, please tag me in your creations so I can see what you’re baking from the blog, @lions.bread . It makes me SO incredibly happy, and I love hearing your feedback!
If you love this recipe, please leave a comment below 🙂
love and flour – LeAnne
Easy Sourdough Ciabatta Rolls
airy, chewy, crispy ciabatta rolls - 100% leavened naturally with sourdough
Ingredients
- 360 g room temperature filtered water
- 95 g ripe sourdough starter
- 11 g kosher salt
- 10 g extra virgin olive oil
- 450 g unbleached all purpose flour
Instructions
Make the dough
- In a large bowl, combine the water and salt. Mix to begin dissolving the salt.
- Add the active sourdough starter to the bowl. Use a dough whisk or your clean fingers to dissolve the starter into the salt water.
- Add the olive oil, whisk to combine. Then, Add the flour. Use a spoon to begin mixing the flour in. Switch to your hands, and punch the mixture until it forms a shaggy sticky dough with no dry patches of flour. Scrape your fingers, and the sides of the bowl. Cover the bowl with a clean kitchen towel, and let rest at room temperature for 30 minutes for the autolyse phase.
- With damp hands, perform the first set of stretches and folds. Gently Pull one side of the dough up until it won’t stretch anymore and lay it over the dough (be careful not to tear the dough). Work your way around the bow until all sides of the dough have been stretched and folded over. Cover the bowl with plastic wrap, rest for 30 minutes.
Repeat the stretches and folds 3 more times for a total of 4 sets, every 30 minutes. You can also do the coil-fold method which works really well with a higher hydration dough like ciabatta. After the last stretch and fold, let the dough bulk ferment at room temperature for another 2-3 hours.
Then, place the dough in a lightly oiled airtight container with straight sides, like a rectangular Rubbermaid container. Place the dough in the fridge overnight or at least 12 hours up to 18 hours.
Shape the rolls
The next day, generously flour your work surface using a small strainer for even coverage. Invert the container on the floured surface, and let the dough slide out. Generously flour the top of the dough as well. Use a bench scraper to scoot the edges in to form a large rectangle. Use the bench scraper or a sharp chef's knife to cut the dough in 6 or 8 rectangular rolls.
Line a large baking sheet with a clean tea towel (or a couche). Sprinkle the towel generously with flour. Carefully lift the rolls onto the baking sheet. Lift the towel up gently between each roll. Sprinkle the rolls lightly with flour, and cover with a clean kitchen towel. Let proof for 30 minutes while the oven heats up. Meanwhile, preheat the pizza stone in the oven at 450° F. Place a small metal baking pan or cast iron skillet into the oven to heat as well (for the steam).
Bake Ciabatta
Very carefully, pour 2 cups of hot water into the preheated pan in the oven. There will be a big burst of steam so be very careful, and wear thick protective oven mitts. Close the door right away to keep the steam inside the oven.
Very carefully transfer the rolls from baking sheet onto a large piece of parchment paper, spacing them just slightly, but they should be close together. Then use a pizza peel, or the back of baking sheet to slide under the parchment paper with the rolls on top. This will help you launch them into the hot oven and onto the hot pizza stone quickly.
Carefully open the oven door (there will be hot steam). Slide the parchment paper with the sourdough ciabatta rolls onto the hot pizza stone. Bake for 15 minutes. Then, carefully remove the pan with the water. Bake for another 10-12 minutes until golden brown and crisp.
Allow to cool completely before slicing, at least 2 hours.
The post Easy Sourdough Ciabatta Rolls first appeared on Lion’s Bread Blog. All rights reserved.
Melissa says
Hi LeAnne — how much olive oil is required? It’s missing from the ingredient list! Thanks 🙂
LeAnne says
Hi Melissa,
Not sure where the confusion is, but it says 10g of extra virgin olive oil in the ingredient list. Hope that clears it up.
Thanks!
Beth Smith says
LeAnne,
I’ll be getting my dough out of the fridge in a few hours. Can you please clarify the rise time (if any) for the shaped ciabatta. You say to shape and then they sit on the cloche until the pizza stone is heated. How long is that rest?
And should they be covered during that rest?
Thank you! Looking forward to dinner tonight … eggplant sandwiches starring these ciabatta!
LeAnne says
Hi Beth,
It’s a really quick rise, about 30 minutes, while the oven preheats. Also, yes they should be lightly covered with a kitchen towel while they’re proofing.
I clarified it now in the instructions, thanks!
-LeAnne