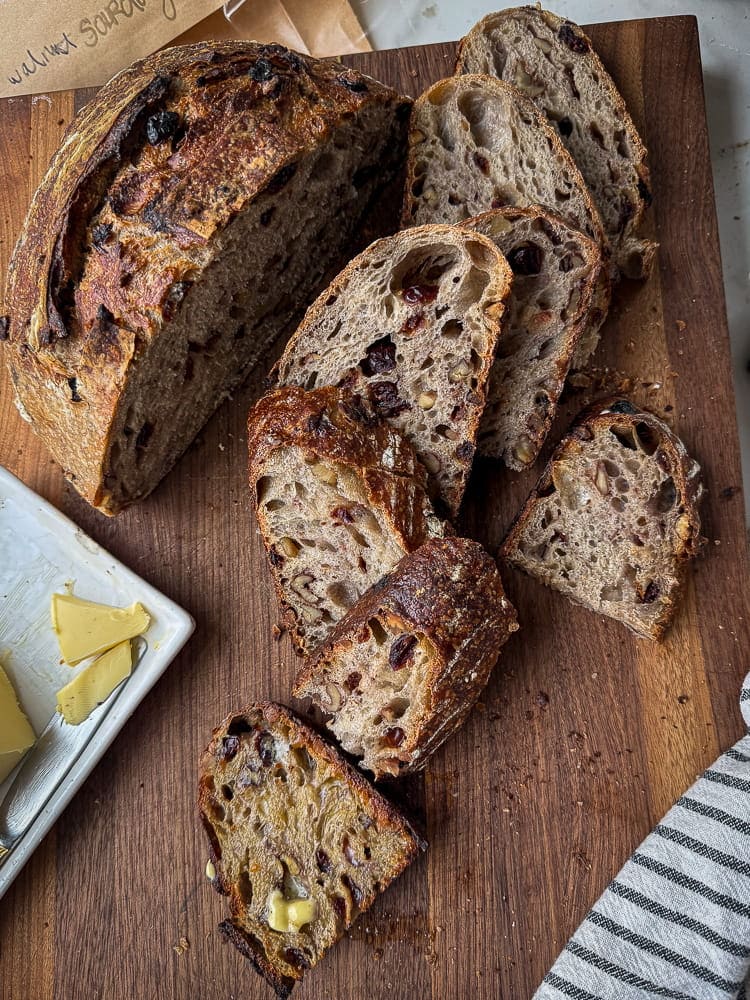
Cranberry Toasted Walnut Sourdough
a delicious loaf of 100% naturally fermented sourdough bread studded with juicy cranberries and toasted walnuts
Ingredients
- 365 g filtered water about 85℉
- 95 g active sourdough starter fed 8-10 hours prior
- 400 g unbleached all purpose flour
- 100 g whole wheat flour
- 13 g kosher salt
- 100 g dried cranberries about 1 cup
- 100 g chopped walnuts, toasted and cooled
Instructions
-
To a large mixing bowl, add the warm water and active sourdough starter. Use a whisk or your hands to mix, dissolving the sourdough starter in the water.
-
Add the unbleached flour and the whole wheat flour to the bowl. Mix well using a wooden spoon until there are no dry streaks of flour. The dough should be sticky and shaggy. Clean up the edges of the bowl using a spatula or plastic bench scraper. Cover the bowl with a clean kitchen towel or a shower cap and let it rest (autolyse) at room temperature for 30 minutes.
-
Meanwhile, pour hot water over the dried cranberries to soak for 10 minutes, then drain thoroughly. Toast the chopped walnuts in a 350℉ oven for 10 minutes until fragrant and golden brown. Set aside.
-
To the top of the dough, add the kosher salt, drained cranberries, and toasted walnuts. Use your fingers to dimple them really well into the dough to incorporate them. Use your hands to pick the dough up and fold it over itself to incorporate them even further. Cover the bowl, and let it rest for 15 minutes.
-
Perform your first set of stretches and folds. This is a gentle way of building up the gluten strength. Gently stretch one section of dough up and fold it over the dough. Rotate the bowl 90° and stretch the next section of dough up, and fold it over. Continue to work your way around the entire bowl until all of the dough has been stretched and folded. Cover the bowl and let the dough rest for another 15 minutes.
-
Repeat the stretch and fold process 3 more times, every 15 minutes. The dough will not be as stretchy because of the inclusions, but should feel much more elastic by the end.
-
Let the dough bulk ferment at room temperature (68℉) for 3-4 hours until it has roughly doubled in size, is puffy, and there are bubbles on the surface.
The bulk fermentation time can vary greatly depending on how active your starter is, and the temperature in your room. I always say to watch your dough, not the clock, for clear indications if you dough is ready to be shaped. Warm weather speeds up fermentation, cold weather slows it down.
-
Now it's time to shape the dough. Lightly sprinkle your work surface with flour. Pour the dough out onto the work surface, and shape it into a traditional round boule shape by bringing the 4 corners of the dough, one-by-one, into the center, then pull the remaining corners in to create a round shape (so 8 "corners" in).
Using your bench scraper to help, gently flip the dough over on the work surface, so that seam side is down. Use your hands to gently push and pull the loaf away from you and back to you, creating tension, and a rounder shape. Sprinkle the top of the dough with a bit of flour to prevent sticking.
-
Lightly dust your proofing basket with flour, and place the dough into the proofing basket, seam side up. Cover the proofing basket with a shower cap, or place it in a plastic bag, with plenty of room for the dough to rise.
Place the dough to proof in the fridge overnight. (**In the cold winter months, I actually leave mine to proof at room temperature on my kitchen counter, and it is ready to be baked the following morning, but this wouldn't work in the hot summer months when fermentation happens MUCH faster.)
-
The next morning, place a Dutch oven in the center rack of your oven, then preheat the oven to 450℉, and let it heat up for at least 30 minutes.
Once the oven is hot, carefully remove the Dutch oven using baking gloves, and remove the lid.
Tip your risen loaf out onto a piece of parchment paper, and use a sharp blade or a bakers lame to slash the top to allow the steam to escape. Quickly lift the parchment paper and lower the loaf (with the parchment paper) into the hot Dutch oven. Place the lid on top, and place in the oven.
Bake for 25 minutes with the lid, then remove the lid and bake for another 20-22 minutes.
-
Remove the loaf from the Dutch oven, and allow to cool completely on a cooling rack. Slice and enjoy with plenty of salted butter.